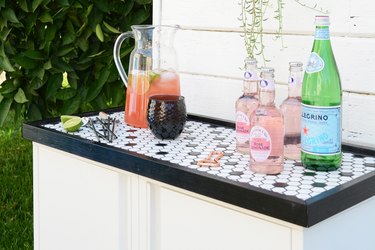
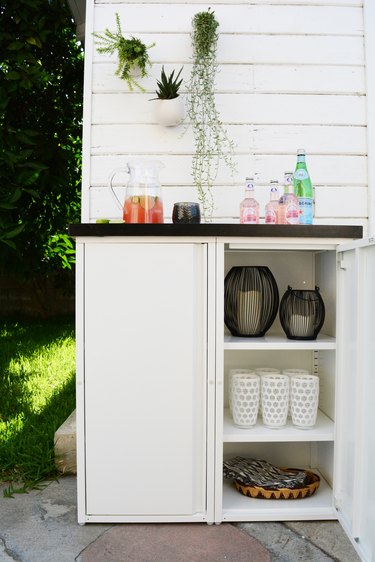
As the days turn warmer, all our meals are enjoyed outdoors. When it comes to dining outside, a table and chairs is a must, but an outdoor buffet totally sweetens the deal. I find that it's always nice to have one more surface to set food and drinks on when you are entertaining. This DIY outdoor buffet, not only looks great, but it also gives you a lot of storage. With three roomy shelves in each side of the buffet, all your outdoor entertaining pieces can be stored right where you need them. Having all your dishes and outdoor serving pieces outside and ready to go, saves a few more trips in and out of the house.
Video of the Day
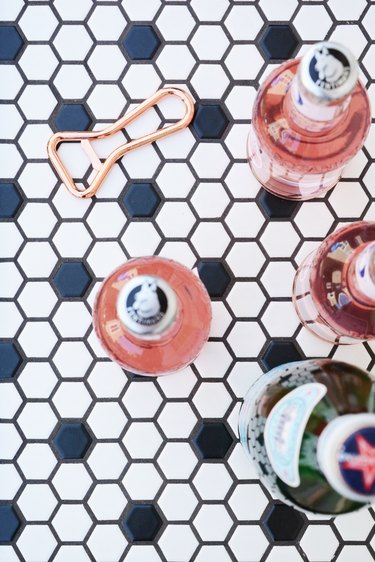
I really had a lot of fun putting this piece of furniture together. This fun "IKEA hack" uses two inexpensive metal cabinets from IKEA and a custom tiled top that can double as a large serving tray. The tray is designed with a lip around the bottom of it so that it snuggly fits on top of the cabinets, but can easily be removed to carry food and drinks in and out of the house. My favorite part of this project was playing with this bold, black and white ceramic tile. I'm ready to tile another surface!
Video of the Day
Things You'll Need
½
-inch plywood cut to 13 ½
by 31
½
inches
½-inch by 1 ½-inches pine trim
12"x 12" sheets of hexagon or penny tile (4)
Black spray paint
Bucket
Notched trowel
Tile nippers
Rubber tile float
Gloves
Sponge
Drill
Self-drilling screws (4)
Finishing nails
Hammer
Hack saw or small wood saw
Miter block for cutting 45-degree angles
Pencil
Measuring tape
Wood glue

Step 1
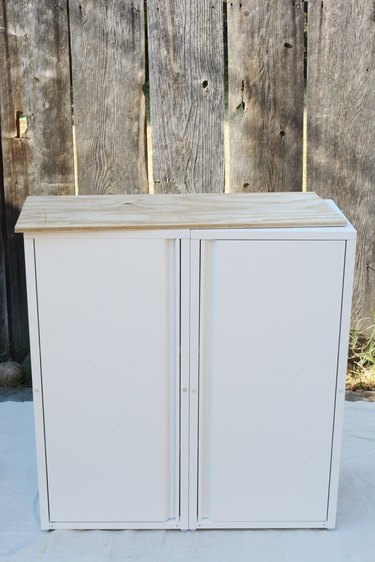
Assemble the two Josef IKEA cabinets according to the directions provided with them. These are really easy to assemble and took less then 10 minutes each to build.
Step 2
This step is optional, but I chose to join my two cabinets together permanently using four self-drilling or self-tapping screws. Using a power drill, screw the two cabinets together from the inside on the cabinets. This gives the buffet stability even when the removable tray isn't on top.
Step 3
Cut the ½ -inch piece of plywood to 13 ½ by 31 ½ inches. This is the exact size of the top of the two cabinets put together. I cheated and had my local hardware store cut this piece for me because I do not own a table saw. Yes, this could be cut with a circular or jig saw, but to ensure straight edges, a table saw is the best tool.
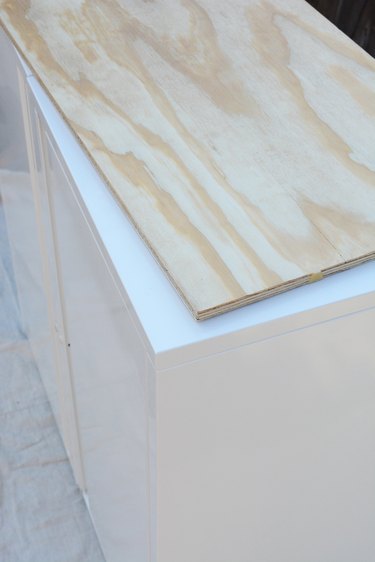
Tip
Both Lowes and Home Depot will cut plywood to a specific size for free!
Step 4
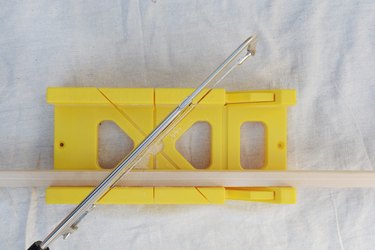
Measure and cut the trim using a miter corner guide. Measure from inside corners of the trim pieces. They will be the same lengths as the sides of the plywood piece — 13½ by 31½.
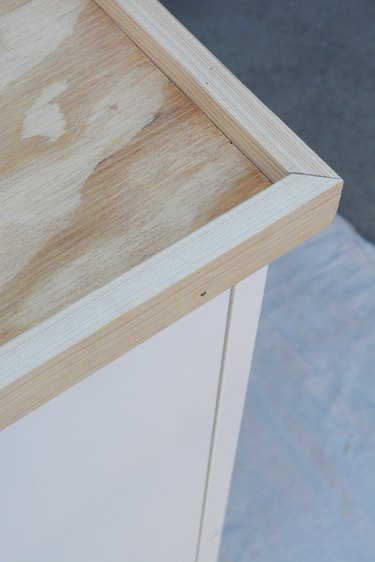
Step 5
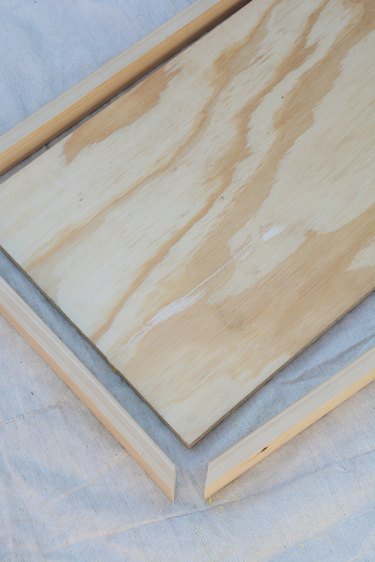
Lay out the trim pieces with the plywood top. Make sure the corners will match up. You may need to sand them a little to adjust. Cut the pieces a tab longe be extra sure they will all fit. You can always sand them down, but you can't add wood back.
Step 6
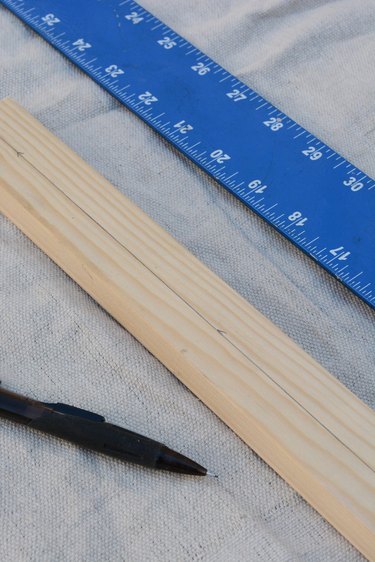
With a tape measure, straight edge and pencil, make a line down the center of the trim pieces. This will mark where the trim will attach to the plywood rectangle.
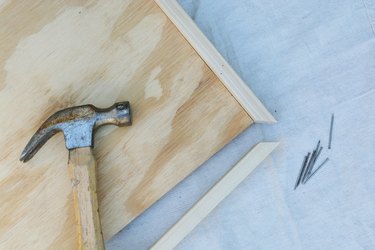
Step 7
Add a bead of wood glue, and then nail on the trim pieces to the plywood top. Use three nails on each piece of trim: two near the ends and one in the middle. Use the line you drew as a guide; this line should line up with the top of the plywood board. By placing the trim piece here, you will create a lip for the bottom of the tray to sit snuggly on the top of the cabinets, and it will also create an edge for the top of the tray to help keep drinks in place.
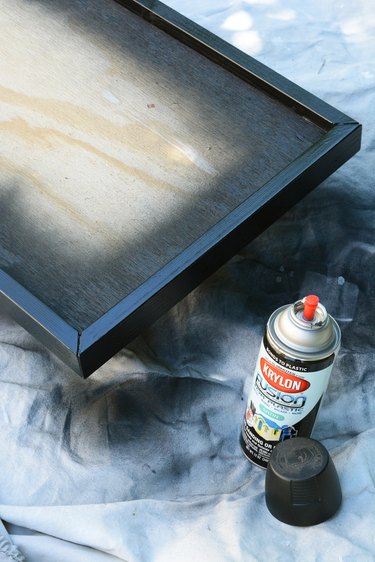
Step 8
Using a good-quality spray paint that is made for outdoor projects, apply an even coat to the outside edges of the tray. Allow the paint to dry completely.
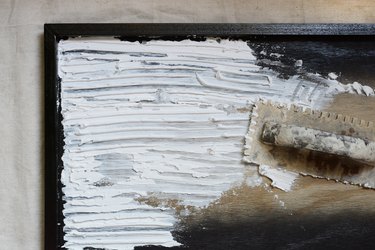
Step 9
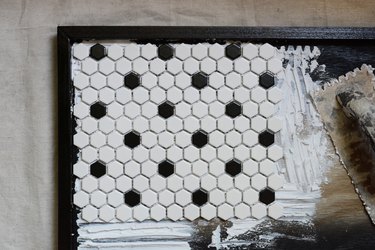
Lay out your tile in the desired pattern. Apply an even coat of premixed tile mastic to the tray top using a notched trowel.
Step 10
Begin placing the tile sheets and partial sheets in your predetermined pattern onto the mastic.
Step 11
Using tile nippers, cut the tiles needed to complete the pattern, and fill in the gaps on the sides of the tray.
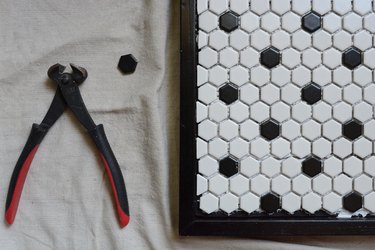
Tip
If you are new to tiling, penny tiles and small tiles that come on 12-inch sheets like these hexagon tiles are a good place to start. You do not need a tile saw to cut these; simple tile nippers (which sell for about $10) can cut these small tiles.
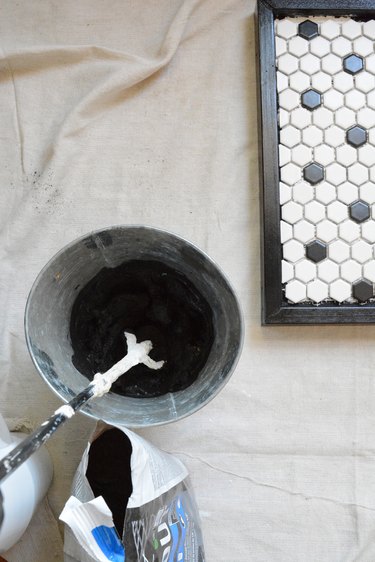
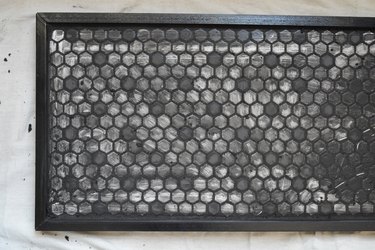
Step 12
Allow the mastic to dry at least 24 hours. And now it's time to grout the tile. I chose a black grout for two reasons. Number one, it will make the pattern of this fun hexagon tile pop; and number two, I won't have to worry about it getting dirty outside. Follow the directions on the bag of grout for the water to grout ratio. Mix with a mixing attachment for your drill, or just with a paint stir stick for this amount.
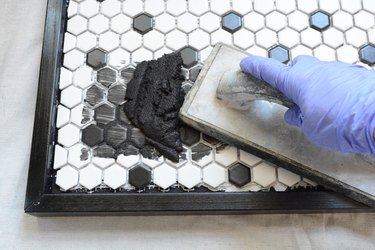
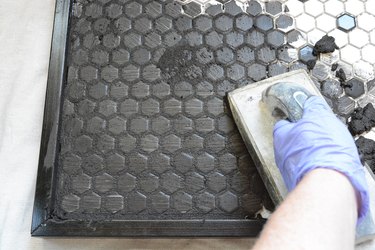
Step 13
Using a rubber tile float, force the grout into all the gaps in the tiles. Be sure to use rubber gloves when working with grout, especially black grout.
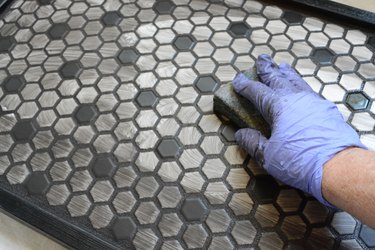
Step 14
Immediately wipe off the grout that is stuck to the tops of the tiles with a large sponge and water. This will take quite a bit of wiping and rinsing. Be sure the sponge is not very wet.
Step 15
Allow the grout to dry 24 hours before using. The tile will still have a film on it, but once the grout is completely dry, you will be able to remove the layer and get the tile completely clean with water and a sponge.

I love how clean and modern this turned out, and I know I'm going to use it all summer long. I've already filled it with plates, paper goods, outdoor lanterns, candles, water bottles, and glasses.