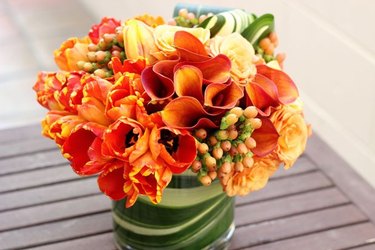
Although the reception decorations are important -- after all, this is where the majority of the wedding takes place, and the decorations will be immortalized by the photographer -- there's no need to blow your budget in this one arena. By shopping around for deals and taking on some DIY projects, you can have a reception that looks much more expensive than it actually is.
Related: DIY Spring Floral Arrangement
Video of the Day
Video of the Day
Create a Whimsical Feather Garland
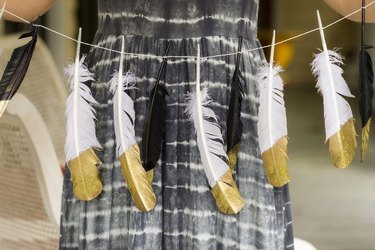
If your venue is a simple, you may end up needing a few more background decorations for things like the cake, guestbook, tables or photo booth. A feather garland is a simple piece that makes a statement no matter where it is placed, without being distracting. String it in front of the head table, or hang several on a backdrop wall to add texture and visual interest.
Stamp Monogrammed Silverware for the Happy Couple

Whether you are getting married or attending a wedding as a guest, monogrammed forks would serve as a thoughtful gift. Though this project looks to be for-DIY-experts-only, it is actually simple enough for even DIY newbies and requires few supplies. After you make one set, it may just become your signature gift for all of your engaged pals.
Thoughtfully Wrap Your Favors
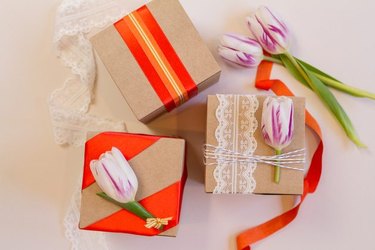
If you are having a small wedding and want to spend more time on your wedding favors, make them extra special by using creative wrapping. Using just twine, lace, ribbon and flowers, you can create charmingly wrapped favors that your guests will love. They're so pretty, they'll double as reception decor while stacked on a table. If you have too many guests to undertake a project of this size, wrap just your bridesmaids' gifts or parents' gifts this way.
Add Rustic Charm With DIY Chalkboard Signs
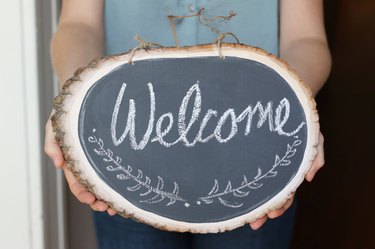
Rustic wedding style allows for lots of DIY creativity and personal touches, such as wooden chalkboard signs. This project requires a bit of power tool know-how, but after you get it down, you can easily duplicate this project in many different sizes for a unifying theme with all of your signs. Use for food labels, directions, table numbers or a big welcome sign.
Watercolor Custom Place Cards for Dinner
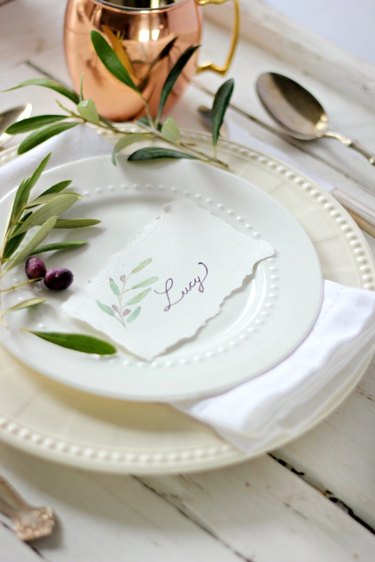
If you've decided to do assigned seating at your reception, there's no better way to display it than with these dainty place cards that your guests will love to take home with them. All you need is a watercolor set, brushes, card stock and a fine-tipped marker, and you can pump these out in one afternoon. If you're feeling creative, expand them to include different flora and fauna. Alternatively, if you're running short on time, just print out the free printable at the end of the tutorial. No one will ever know.
Skip the Vases and Use Cute Pails for Flowers
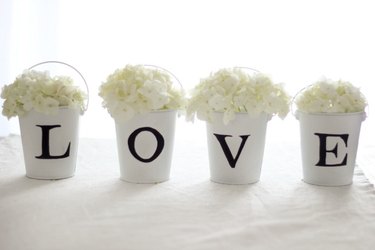
Instead of using regular vases for flowers on your table, use customized tin pails to add your own personal touch. You can stamp your wedding date, last name or even a simple monogram for the sake of simplicity. Whatever you choose, you can make it with this tutorial and a short list of easily sourced craft supplies. A pail of flowers can also substitute for a flower girl bouquet or the ring bearer's traditional pillow.
Related: L-O-V-E Tin Pail Flower Arrangement
Save a Pretty Penny by Arranging Your Own Flowers
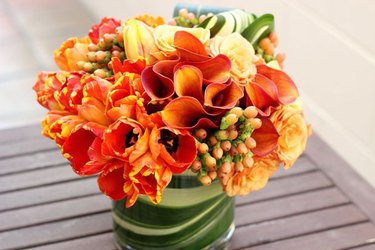
It's a little-known wedding planning fact that when you fork over the check to your florist, a large percentage of what you are paying is for the professional arrangements. If you buy your flowers in bulk (which you can, from both independent shops and member wholesale stores) and practice a few times, you can create your own arrangements and cut your floral cost significantly. This needs to be done the day before or day of the wedding, so instead of doing it yourself, ask your most artistic friend if she would be willing to help out in lieu of a wedding gift or for a small price.
Be Creative With Succulent Centerpieces
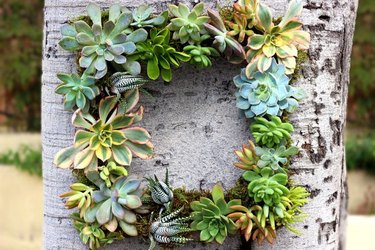
Succulents are loved for their low-maintenance upkeep as well as their long shelf life. They look just as fresh and gorgeous as flowers, but succulent wreaths can be made weeks in advance, whereas floral arrangements must be made 24 to 48 hours before the wedding. Making these wreaths takes practice and time but will also go more quickly with smaller wire wreath forms. They also can serve as gifts for the wedding party to take home after the shindig ends.
Related: How to Make Living Succulent Wreaths
Make a Knockout Background in Less Than Five Minutes
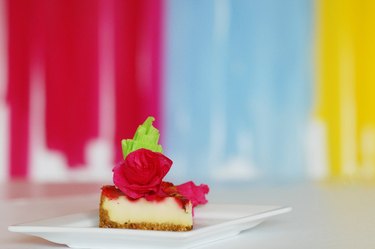
This fun, whimsical wall decor is possibly the easiest DIY of all time, with high-impact results. All you need are streamers, scissors and rope or twine for a wall that will look beautiful as the background to any number of event photos. Use muted, neutral colors to simply add texture, or go wild with colors for a true statement wall. Picture it behind the head table or as a photo booth backdrop. The crepe flowers are equally simple and work as food or table decor.
Add Balloons for a Fanciful Touch
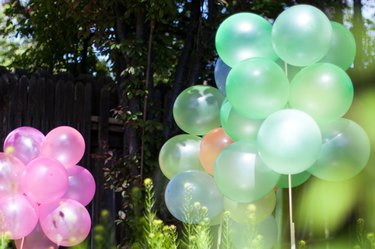
Balloons are a classic way to say "the party's here!," and this simple project won't take you long. With balloons, thin string and wooden dowels, you can easily create decorations for an outdoor cocktail area, photo booth props or decor to line a path. If you're worried balloons look too casual, stick to one color -- metallic looks especially glamorous. This easy decor will especially pop (with luck, not literally) in photos.
Glam Up Your Vases With Gold Leaf
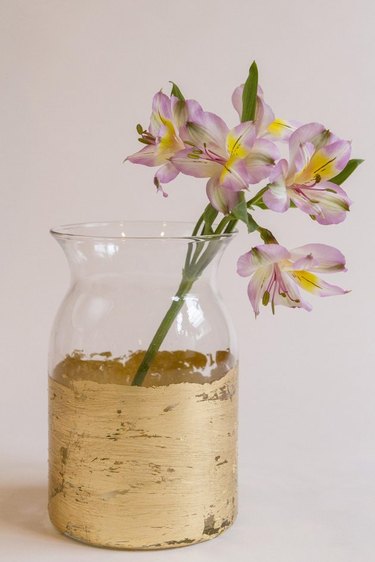
Vases can be found for quite cheap at dollar stores or thrift stores, and if you want the luxe look for less, use this tutorial to add some classic sparkle to your flower arrangements. Reasonably priced gold-leaf kits can be found at art stores or online, and you can easily knock out several of these vases in a few hours. They also look wonderful with candleholders -- the soft glow adds a romantic touch to any centerpiece.
Make a Statement With a Burlap Banner
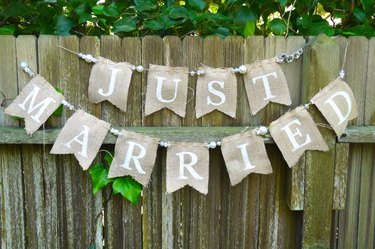
Burlap adds texture and visual interest and goes with almost any wedding theme short of black tie. You can make several of these banners to label tables ("Dessert," "Guest Book") or just one big one for a statement, maybe to hang behind the head table. By selecting your own beads and changing up the font, you can personalize your banner to fit in perfectly with the rest of your decor. If you spell names, mark the date or create a sweet saying, this could even become a home decor piece.
Related: How to Make a Burlap Banner
Buckle Your Tool Belt for a DIY Framed Chalkboard
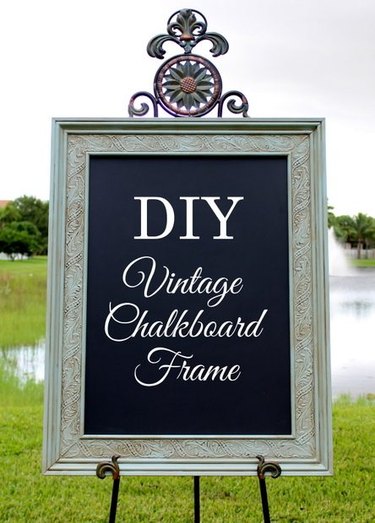
Making a vintage chalkboard frame requires some tool know-how and a fair amount of supplies. If the list overwhelms you, call in the troops (fiance, Dad or anyone with more tool expertise) and make it a group project. You'll expand your DIY skills and come out with a gorgeous chalkboard you can use for a sign, menu, order of events or whatever you choose. Chalkboards come in handy for any number of occasions, so the extra work on this one definitely won't go to waste.
Go Craft Crazy With Vintage Books
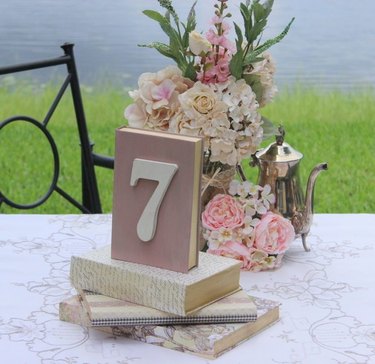
A vintage-book centerpiece coordinates with a rustic wedding theme and allows you to stretch your creative wings a bit as well. This tutorial includes three different looks: wrapping books in paper, painting them using acrylic paints and stenciling on burlap covers. You can customize any of the three by using a variety of papers or painting your own artistic masterpiece. This project's height can be tailored by the way you stack books, or it can showcase your engagement photos, too.
Use Tin Can Lanterns to Create a Romantic Glow
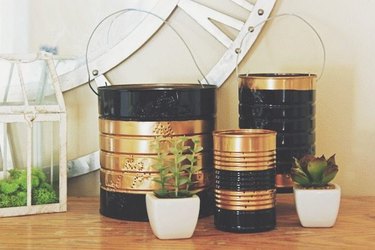
Soft lighting completely changes the vibe of an event, and these quaint lanterns are no exception. Repurpose your tin cans with paint, hammer and nails, and some other supplies to create lanterns that will lend a magical feeling to your reception. Add them to tables or pathways for some mood lighting that you'll want to re-create in your backyard for years to come.
Related: How to Make a Tin Can Lantern
Turn Your Ice Bucket Into a Floral Display
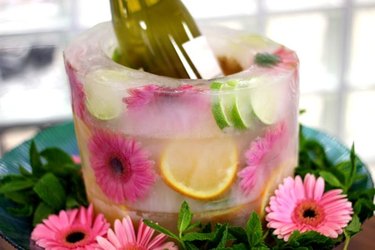
All you need to make pretty ice buckets is water, a couple of buckets, fruit, flowers and a day or two. By freezing them in stages, you ensure that the fruit doesn't all float to the top and you get evenly spaced decorations. This project allows you to leave a bottle of white wine or champagne on each table. You can vary what you showcase to match your season and theme and make them as large or small as you want. Just be prepared for everyone to ask how you made them.
“Donut” Be Afraid to Be Quirky
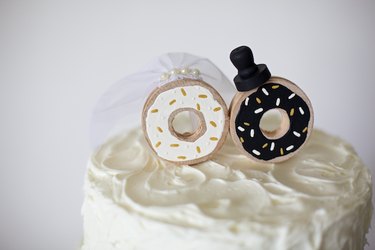
The traditional cake toppers are just that: traditional. That may not be your style. Luckily, there are many options nowadays for cake toppers, but none as sweet as this DIY bride-and-groom donut cake topper. You need only basic power tool know-how and a few craft supplies. Stick to white and black, or customize each to represent your own favorite donuts. Either way, your cake topper will be the subject of many a delighted Instagram post.
Related: DIY Donut Wedding Cake Topper
Handcraft an Elegant Monogram Cake Topper
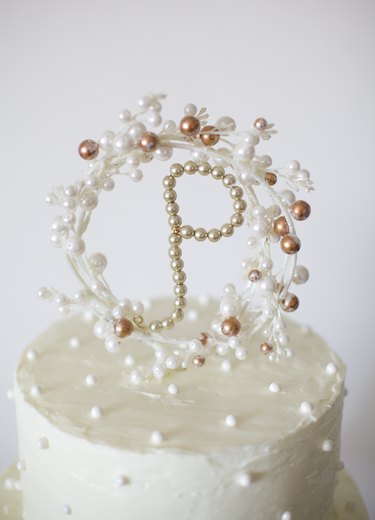
If donuts aren't your thing, but you're still looking to take your cake topper in a different direction, a classic and charming monogram could be just what you're looking for. Though it looks intricate and delicately crafted, it's surprisingly easy and can be made months in advance. You will need wire, wire cutter/pliers, pearl beads, clear string, tape and paint supplies. After you get started, you'll be able to whip up this project in a couple hours or less and then store it away to be ready for use on the big day. If you're skipping the cake, you could make a couple mini toppers for cupcakes or whatever dessert you're serving.
Create Boisterous Memories With a Shotski
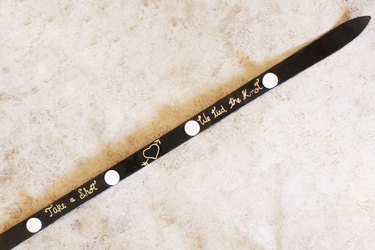
This homemade shotski is sure to be a huge hit at your wedding. With a ski, some tools and some shot glasses, you can create a drinking "game" of sorts that is sure to result in hilarious memories and lots of laughs. Add a cute saying or your names, and paint it to go with your wedding theme. For additional laughs, leave disposable or instant camera by the shotski and a little sign asking your guests to take a picture before or after their shots. You're sure to get some rambunctious captures as the party rages on.
Related: How to Make and Use a Shot Ski
Use Silk Flowers for a Budget-Friendly Monogram
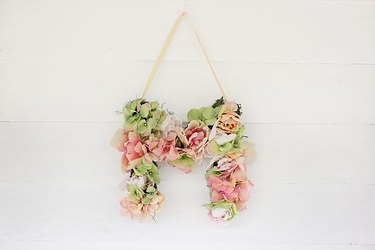
Floral and/or custom artwork is stunning but oftentimes cost prohibitive. Make your own with silk flowers to save money, stress and time searching for the perfect thing. This piece is simple, requiring only silk flowers, glue, moss, a ribbon and cardboard or card stock for the letter. You can buy silk flowers to match your bouquets or centerpieces, and match the colors to your own wedding colors. Doing the monogram in all one color, such as white, is striking and formal. If you love the results, you can make more or even make letters to spell out a word. Hang them on a wall or prop them on tables for a pop of style.
Related: DIY Silk Floral Monogram
Add a Romantic Touch With Lace Candle Holders
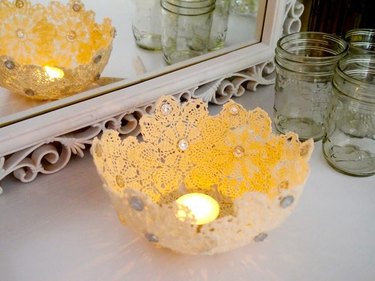
Soft, romantic lighting is a necessity as the night winds down, especially for the tables, where some guests will chat the night away. Create your own candle holders out of lace doilies for a bohemian look that will enchant your guests. After you have your batch of doilies (which can be sourced from flea markets and antique shops), gather your materials for an unconventional yet simple crafting project that involves balloons, wallpaper glue and wire hangers. Give them as gifts to your bridesmaids after the reception as a memento.
Related: DIY Lace Candle Holder
Light Up the Night With a DIY Illuminated Sign
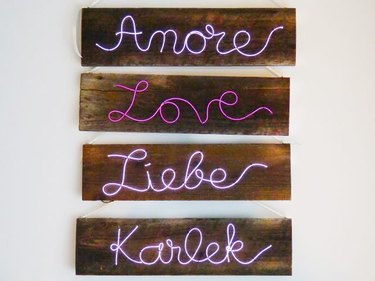
This ambitious project is sure to impress all of your guests -- in fact, they may even want to place an order with you for a set of their own. This tutorial includes a template for "love" in four languages: English, Italian, German and Swedish and directions for those specific words. After you get the hang of it, you can make any language you like. Display the beauty of love in multiple languages for multicultural weddings.