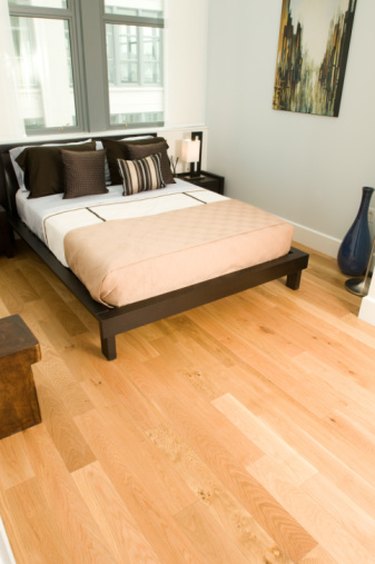
Hardwood floors are a viable option for any interior room. They generally offer superior quality and aesthetic appeal than such other flooring options as carpet or linoleum. Styles differ in type of wood, size of individual planks, color of finish and fastening method. But regardless of your style preferences, every hardwood floor has joints, or seams, forming where each plank butts against the next. You must pay attention to these joints while installing the floor to assure optimum aesthetic appeal.
Stagger for Aesthetics
Video of the Day
Most hardwood floors consist of many individual planks or boards measuring differing lengths, but having the same width. How you arrange these planks in size is up to you and the result has little effect on the functionality of the floor. But aesthetics matter and that means you should stagger the joints while laying out your flooring. The general goal is to follow no consistent pattern, while maintaining a minimum of six inches between joints in consecutive rows. Lay longer planks in front of entryways and doorways.
Video of the Day
The First Row
When laying the first row of planks, include a variety of different length boards. Avoid laying more than two or three consecutive short planks (less than 12 inches long) in the same row. This will make it easier to stagger your joints in the following rows, maintaining your six-inch minimum space. Consistently spread out the shorter planks across the entire floor space.
Measuring Between Joints -- The Six-Inch Rule
When laying each plank, check the distance between three different joints. The first distance should be measured from the free end of the plank being laid and the first joint you see to the left along the previous completed row, now butted flush against your new row. The second distance you should measure is between the same end of the plank being laid and the first joint you see to the right along the previous completed row. Make sure both of these joints are at least six inches apart and the plank you are laying measures at least six inches in length.
Eyeball Measurements and Avoid Stair Pattern
Since you are dealing with six-inch increments and there is no set code or standard for these measurements, many people do not measure the distance between joints with a tape measure. This is something that can be eyeballed and approximated during the process, especially after laying the first couple rows and you become more familiar with the distance. The key is to avoid following a consistent pattern, such as creating a stair case by stepping down from row to row with the exact same distance between consecutive joints. This creates a zigzag pattern that stands out in the finished product. Your goal is to make the joints blend in and go unnoticed.
Check Two Rows Back
Many installers pay attention to the joints in the second to last completed row as well as the adjacent row. Ideally, these joints should be spaced at least three inches apart from the joints of the new row being laid. There may be times when breaking this three-inch rule cannot be avoided and doing so will have little effect on your finished project. Avoid lining the joints up exactly within two or three consecutive rows.