Things You'll Need
Measuring tape
Shovel
Garden rake
Spirit level
Gravel
Sand
Mason's chalk line
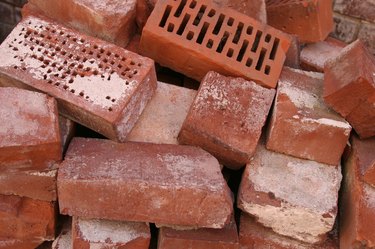
Picture of brick pattern
Bricks
Rubber mallet
Heavy-duty broom
The types of brick bonds, also known as laying patterns, used in bricklaying can tell a lot about the history and character of a house. Installing bricks at an angle is known as herringbone bond, and it has been used since the 16th century. The pattern is purely decorative and can be used to great effect in walkways and patios. In walls, it is used only in small areas, because although it may make a striking statement, it has no strength. Herringbone can be laid at a 45- or 90-degree angle. Laying it at a 45-degree angle will require minimal cutting of bricks and take the least time.
Step 1
Identify the location of any utilities in the area where you want to lay herringbone brick bond. You may need access to these points in the future. If you have sufficient space, it may be better to avoid laying bricks over these points.
Video of the Day
Step 2
Measure the area where you will lay the bricks and draw a rough plan, calculating how many bricks you will need. Use an online brick calculator, such as the patio pavers calculator on Better Homes and Gardens' website, to help you.
Step 3
Prepare the ground for the bricks. Dig out the area where you want to lay your patio or path. The excavation should be at least eight inches deep. For adequate drainage from your property, allow a slope of 1/4-inch for each foot of brickwork. Rake and smooth the surface. Fill it with six inches of gravel, with two inches of sand on top of that. Tamp down the sand to create a smooth surface to lay your bricks on.
Step 4
Mark out the area on which you will lay bricks with mason's string chalk lines, so you will have accurate lines to work from when you start to lay your bricks at angles.
Step 5
Place brick borders before you start to lay in the herringbone pattern.
Step 6
Cut brick pieces for your foundation row. Lay a brick flat with its longest edges at the bottom and top. Mark a 45-degree angle from the bottom left corner to the top middle of the brick. Do the same from the bottom right corner to the top midpoint. Cut the brick along these lines. The resulting small triangles from the brick will be in your foundation row.
Step 7
Study a picture of the 45-degree herringbone pattern, such as the one at Paver Search's website. This will give you a good idea of the pattern you will be replicating and will help you achieve the effect.
Step 8
Lay the small triangles next to each other, with the cut side at the bottom border of your project area and the right-angled corner at the top. This forms a foundation row for the pattern. Tamp the bricks down with the mallet as you lay them.
Step 9
Start your second row by tilting its initial brick 45 degrees to the left. Lay all the bricks in the row at this angle, with each brick's bottom shortest edge in line with the left-hand side of each triangle.
Step 10
Start your third row by tilting its first brick 45 degrees to the right. This is the angle at which you will lay all the bricks in this row. Place the bottom shortest edge of each brick inside the right angle formed by the bricks in the second row.
Step 11
Alternate the angle of each row until you come to the end of your work area. Cut bricks to fill in the gaps left at the left, right and top edges.
Step 12
Sweep sand into any gaps between the bricks.
Tip
You can lay bricks in any pattern or at any angle, but remember that if you are doing this for vertical walls, they can only be used as a decorative feature. They must have a supporting wall behind them.
Video of the Day