Things You'll Need
Chicken wire
Wire cutters
Pliers
Newspaper
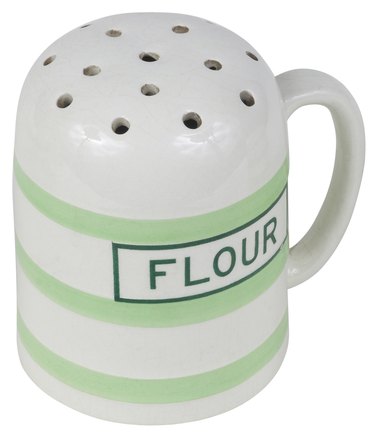
Flour
Paint
Paint brushes
Masking tape
Balloons
Floral wire
Green floral tape
Hot glue gun
Hot glue
Making a life-sized paper mache tree from chicken wire is a time consuming process, but one which is both fun and rewarding. Making your own tree is a great way to achieve just the right look for a scary Halloween tree, a palm tree or trees for the set of play. Working with paper mache will allow you to control the end result. You can find the needed supplies at most hobby stores.
Building the Trunk
Step 1
Cut strips of chicken wire with the wire cutters to form the shape of a tree trunk. The amount of chicken wire you will use will depend on the size of tree you are making. Start by making the base or stump of the tree and build up to the desired height. Connect the sheets of chicken wire using the pliers to twist the ends of the wire together.
Video of the Day
Step 2
Cut smaller strips of chicken wire and connect them to the base of the tree. Use the pliers to bend them into the shape of roots. Make the roots wide enough to add stability to the rest of the tree.
Step 3
Cut additional strips of chicken wire and shape them into branches if you would like to add them Make sure the tree doesn't become weighted to one-side or it will not stand on its own. The chicken wire should now resemble the frame of your tree.
Step 4
Tape a single layer of newspaper to the tree. The roots, trunk and branches should all be covered in the newspaper. Try to lay the newspaper as flat as possible and avoid bulky layers.
Paper Mache
Step 1
Tear the newspaper lengthwise in 3-inch strips. The amount of newspaper you will use depends on the size of your tree; you will need enough to cover the tree four times.
Step 2

Mix 3 cups of flour into 9 cups of water. Mix until it forms a creamy paste free from any lumps.
Step 3
Dip your fingers into a water to dampen them and prevent the paper mache from sticking to them. Grab a strip of newspaper and dip it into the flour paste. Submerge it completely to coat the paper and remove it from the paste. Use your fingers to squeeze off any excess paste. Lay the strip onto the chicken wire frame and wrap it so that it lays as flat as possible.
Step 4
Cover the tree in strips of paper mache by working your way from the bottom to the top. Repeat three additional times so that there are four layers of paper mache on your tree. Allow the paper mache to completely dry; usually overnight.
Step 5
Paint the tree using spray paint or another water-based paint. Allow the paint to dry completely.
Making the Leaves
Step 1
Cut a length of floral wire 2.5 times the desired length of your leaf and fold it in half. Slightly pinch the folded end closed without crimping it.
Step 2
Slide an uninflated balloon onto the folded end of the floral wire. Shape the wire inside of the balloon into a leaf shape.
Step 3
Wrap the open tip of the balloon onto the exposed tail of floral wire with green floral tape. This should secure the balloon to the wire and form a stem. Trim the stem to an acceptable length.
Step 4
Glue the leaf to the tree by using a small bead of hot glue and pressing it onto the tree. Hold firmly in place until the glue has dried, usually a few minutes.
Tip
Use a large drop cloth under the tree while making tree to protect surfaces from paste and paint. Use gloves when working with the chicken wire to prevent cuts.
Warning
Do not build your tree bigger than the doorway if you will be moving the tree to a new location.
Video of the Day