Things You'll Need
2 boards, 2-by-4-inch, 48 inches long
2 boards, 2-by-4-inch, 45 inches long
Box, 3-inch coated screws
Screw gun
3/4-inch plywood, 48 by 48 inches
1/2-inch cement board, 48 by 48 inches
Tile mastic
Notched trowel
Tiles
Package, tile spacers
Grout
Grout float
Sponge
Bucket, water
2 1-by-5-inch trim boards, 120 inches long
Miter saw
Tape measure
Hammer
Box, finish nails
Nail set
Wood putty
Putty knife
Fine-grit sanding pad
Wood finish
Paintbrush
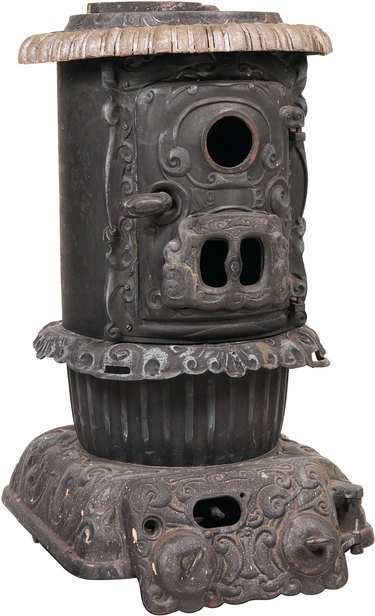
A hearth provides protection for the floor in front of a fireplace or underneath a wood-burning stove. It must be a made from a fire-resistant material so that it will not ignite from stray embers, sparks or extreme heat; stone, slate, brick and tile are all commonly used. Some hearths are level with the floor and others are slightly raised, which can create a focal point for the room. You can make a raised hearth as a do-it-yourself project. Make it 48 by 48 inches so that it will be large enough to hold the stove, extra wood and tools for the stove.
Step 1
Place the two 2-by-4-by-48-inch boards parallel to each other on a work surface 45 inches apart. The 2-inch edges should be on the work surface.
Video of the Day
Step 2
Position the two 2-by-4-by-45-inch boards between the 48-inch boards to create a 48-inch square. Drive two evenly spaced 3-inch coated screws through the 48-inch boards into the ends of the 45-inch boards at each joint using a screw gun. This is the frame for the raised hearth.
Step 3
Center the plywood over the top of the frame for the raised hearth. Place the cement board over the plywood. Make sure that the edges of the plywood and cement board are even with the sides of the frame. Drive 3-inch coated screws through the cement board and plywood into the frame, spacing them every 4 to 6 inches around the perimeter using a screw gun.
Step 4
Spread an even layer of tile mastic over the top of the cement board using a notched trowel. Lay the tiles across the top of the cement board. Start at one corner and work your way across the board in rows. Place tile spacers in between the corners of the tiles as you lay them in place. Allow the mastic to dry 24 hours. Pull out the tile spacers with your fingers.
Step 5
Add grout to the edge of a grout float. Pull the float across the tile joints at a slight angle to fill the joints with grout. Allow the grout to dry for 15 to 20 minutes.
Step 6
Dampen a sponge in a bucket of water. Wash the tiles with the sponge to remove grout from their surfaces; keep at it until the sponge wrings out clean water.
Step 7
Lay the 1-by-5-by-120-inch trim boards, one at a time, flat on the table of the miter saw. Measure and mark the boards to 48-inch lengths using a tape measure and pencil. Adjust the miter saw to cut a 45-degree angle. Cut the trim boards to length so that the back sides of the boards measure 48 inches and the front sides are longer at the mitered point.
Step 8
Fit the trim boards around the hearth frame like a picture frame. Hammer finish nails through the trim boards every 4 to 6 inches into the hearth frame. Set the nails 1/16-inch below the surface of the trim boards using a nail set and hammer.
Step 9
Fill the nail holes with wood putty using a putty knife. Allow the putty to dry for 24 hours. Sand the putty flush with the surface of the trim boards using a fine-grit sanding pad and moving it in the same direction as the wood grain.
Step 10
Brush on two coats of wood finish over the trim boards using a paintbrush. Allow the first coat to dry for 4 hours before applying the second coat.
Tip
Select two contrasting tiles to use for the hearth to add more visual interest to it.
Warning
Wear eye protection when building a raised hearth to avoid possible eye injury.
Video of the Day