Things You'll Need
Black marker pen
Handsaw
Utility knife
PVC primer
PVC/ABS sewer end cap
PVC/ABS cement
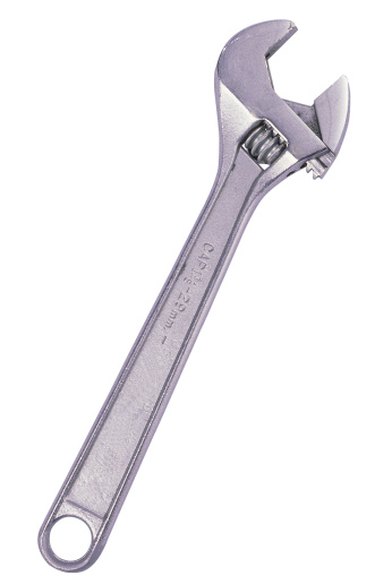
Adjustable wrench
White sealing tape
Threaded PVC/ABS sewer cap
Household sewer lines generally come in PVC (Polyvinyl Chloride) or ABS (Acrylonitrile Butadiene Styrene) hard plastic, and are available in different diameters. Sewer caps come in two types: one is an end cap that fits over the pipe end and is cemented into place. The other has a male thread on its sides that screws into the leg of a wye access fitting, and is removed so a sewer snake can be inserted into the pipeline. The cemented cap must be cut off and replaced and the threaded cap is simply unscrewed and a new one fitted in place.
Cemented Sewer End Cap
Step 1
Mark the sewer pipe 1 inch along from where it enters into the end cap, using a black marker pen. If there is primer or cement on the pipe surface at this point, mark the pipe farther along where none exists.
Video of the Day
Step 2
Saw a straight perpendicular cut through the pipe at the mark with a handsaw or circular saw. Remove and discard the end cap. Scrape off all burrs from the cut pipe end using a utility knife.
Step 3
Brush PVC primer around the outside end of the pipe to a width of 3/4 inch, and also onto the inside walls of the PVC end cap. If installing ABS, it needs no primer. Brush PVC cement onto the primed pipe end, as well as the primed inside area of the end cap. For ABS, brush ABS cement onto the ABS pipe end, as well as the inside walls of the ABS end cap.
Step 4
Quickly push the end cap fully onto the end of the pipe. Hold the cap to the pipe for 10 seconds while the cement starts to set.
Threaded Sewer End Cap
Step 1
Fit the jaws of an adjustable wrench around the center nut of the threaded end cap and turn the wrench handle counterclockwise to remove the cap from its place. Discard the cap.
Step 2
Wrap white sealing tape counterclockwise twice around the cap's side threads. Screw the cap into the end of the wye fitting by hand.
Step 3
Tighten the cap to the fitting with the wrench.
Video of the Day