Things You'll Need
Bucket
Water
Bleach
Brush
Sandpaper
Cloth
Mineral oil
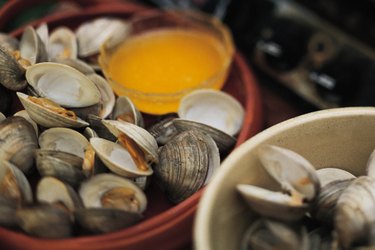
Before using a clam shell in a craft project, polish the shell to make it stand out. Clam shells found on the beach need to be cleaned and bleached prior to polishing, while shells you purchase at the craft store typically have been bleached already.
Step 1
Arrange the clam shells in a single layer on the ground or pavement. Select a sunny area, where the shells can be undisturbed for two weeks.
Video of the Day
Step 2
Leave the clam shells to sun dry for about two weeks.
Step 3
Place the clam shells in a bucket and cover them with a solution made from equal parts of fresh water and liquid bleach. Allow them to sit in the bleach solution for two to three days. Do not use salt water.
Step 4
Rinse the clam shells in fresh water and scrub with a brush to clean. Dry the shells.
Step 5
Sand the shells gently, using light sandpaper, until glossy and smooth
Step 6
Pour mineral oil on a soft cloth and polish each shell until it shines.
Tip
Some crafters polish their clam shells with clear nail polish or use WD40 instead of mineral oil.
Warning
Do not use vegetable oil or baby oil to polish the clam shells, as they will eventually become rancid and develop an unpleasant smell.
Video of the Day