Things You'll Need
Sandpaper
Clean cloth
Wood stain or paint
Paintbrush
Picture
Hobby knife
Laminate sheets
Iron
Silicone cloth
Polyurethane finish
Laminating a picture to wood, a process known as decoupage, turns any wood surface into a piece of art. Done correctly, the picture can last for decades, retaining its vibrancy throughout the years. Unfortunately, traditional decoupage methods, which involve gluing the picture directly to the wood, often lead to the picture cracking as the wood expands and contracts with temperature changes. Placing the picture in laminate sheets before attaching it should help alleviate this problem.
Step 1
Sand the surface of the wood with medium grit sandpaper to remove any existing laminate and to create a smooth surface to place the picture. Wipe the sanding residue off with a clean, damp cloth.
Video of the Day
Step 2
Clean the wood surface with a wood cleaner and sponge. Be careful not to saturate the surface with liquid while cleaning as this could cause warping in the wood. Rinse with clean water, then pat the surface dry with a cloth.
Step 3
Apply a stain or paint finish to the wood using a paintbrush. Brush on the stain, removing any excess with a piece of cloth, and then allow it to dry according to manufacturer's suggestions. Paint the wood with two light layers of paint if you want a painted rather than stained surface. Allow the first layer to dry about 15 minutes before applying the second, and then let the second dry overnight.
Step 4
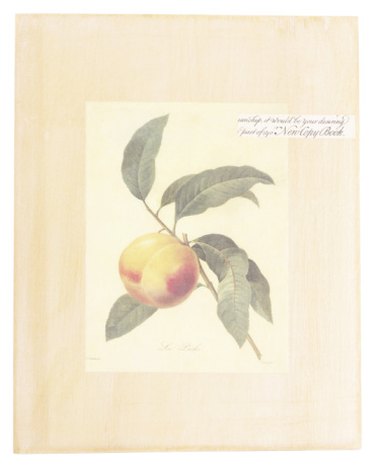
Prepare you images for laminating onto the wood. Trim away any excess from the image with a hobby knife.
Step 5
Peel the protective backing from a laminate sheet and place the now unprotected sticky backing on the work surface, sticky side up. Place the image onto the sticky side of the laminate with the picture side against the sticky surface. Rub the back of the picture to remove any air from between the picture and the laminate sheet, as well as to ensure the picture is fully covered.
Step 6
Remove the protective backing from a second piece of laminating sheeting and place onto the back of the picture, sandwiching the picture between the two adhesive layers. Rub the second sheet flat to remove any air. Turn the laminated picture over so that the image is face up.
Step 7
Set a clothes iron to its highest setting without steam use. Allow it to heat to the selected temperature for about three minutes. Place the paper backing over a corner of the image sheet and press the iron over the sandwiched sheets for about five seconds to meld the laminate together at the corner up to the edge of the picture. Remove excess laminate from the sheet, leaving a small border of about 1/4 inch.
Step 8
Place the sheet onto the wood where you wish to attach it, then cover with a silicon cloth. Apply the iron to the cloth, transferring the heat to the image and the wood beneath. Use a small circular motion over the image, moving the iron steadily for about two minutes to mount the laminated photo to the wood. Check the picture and make sure it is adhering all over. If not, apply another minute of heat. Turn off the iron and allow the photo to cool to room temperature.
Step 9
Cover the wood with a layer of polyurethane finish to protect the wood and photo from damage. Brush on the urethane with a paintbrush, removing excess material with a cloth, and then allow to dry for 24 hours.
Step 10
Sand the surface with fine grit sandpaper to remove any brush strokes left from the polyurethane application. Wipe with a clean cloth. Apply two more layers of the polyurethane, sanding after each.
Video of the Day