Things You'll Need
Polymer clay in tan, yellow, clear and desired filling color
Fork
Brown powder pastel
Paintbrush
Sharp knife
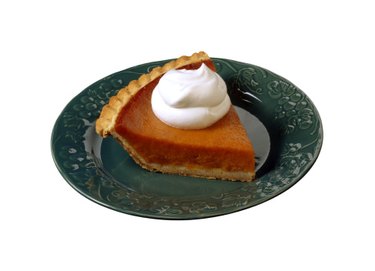
One of the fastest and most straightforward ways to make a fake pie slice is to make it from polymer clay. Polymer clay is easy to work with and produces professional results. Make your decorative pie slices as small as 1 inch or as large as 6 inches or more. Use pictures of real pies for inspiration when coming up with a design for your clay pie.
Step 1
Mix an equal amount of tan, yellow and clear clay together until it forms the proper golden brown pie crust color.
Video of the Day
Step 2
Roll the clay into a round ball. Flatten the ball to a thickness of about ¼ to ½ inch, depending on the size of the slice. Make the clay thicker for larger slices and thinner for smaller ones. Make the pie-crust circle about 1 to 4 inches wider than you want the final size to be, depending on how large you want the pie slice.
Step 3
Roll out a circle of clay equal to the desired thickness of the pie filling. If you want a fruit-filled pie, such as a cherry pie, roll the clay into balls and stack them together to form the filling. Place the filling on top of the pie-crust circle.
Step 4
Fold the outside edges of the pie-crust circle up around the filling to make the outside crust edge. Turn the pie on its side and roll it around to adhere the two clay pieces together.
Step 5
Decide if you want a woven crust, open crust or full top crust. If you want an open crust, roll clay in the pie-crust color into two thin ropes and twist them together. Lay the twisted rope around the top edge of the pie. For a woven crust, roll out the clay into thin strips; overlap them on the pie in a lattice pattern. Roll a piece of clay out flat and place it over the top of the pie for a full crust. Press around the outside edge of the pie with a fork just as you would for a real pie.
Step 6
Brush a small amount of brown powder onto the top of the pie crust for a browned effect.
Step 7
Cut the clay pie into six equal pieces with a sharp knife. Fix any parts of the slices that get smashed during cutting.
Step 8
Bake the clay in a 200-degree Fahrenheit oven for 1/2 hour per inch of thickness. The clay should be hard when cooked all the way through.
Video of the Day