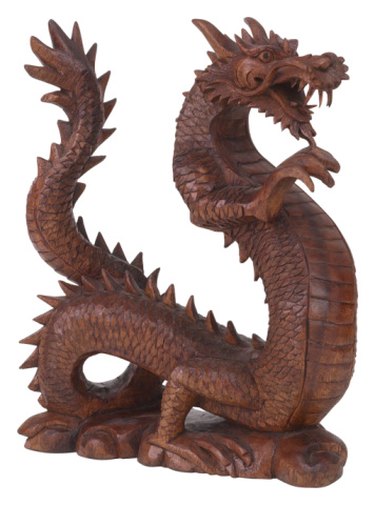
Building sculptures out of clay is a great activity, but there are many hassles that come along with regular polymer clay. Polymer clay must be dried and fired before it can be painted and set on display. Air-dry clay is a convenient alternative to polymer clay. It is extremely lightweight and air dries in an hour or less. Once the clay has dried, it is ready to be painted and put on display. No waiting or firing is required. Look for air-dry clay at your local craft store or find it online from an Internet-based art supply company.
Step 1
Gather a handful of air-dry clay from the container and knead it in your hands for a minute or two to warm it before rolling it into a ball. The correct size of the ball should be determined by the desired size for your dragon but a ball the size of a baseball should be sufficient.
Video of the Day
Step 2
Roll the ball lightly between your palms until the ball becomes slightly ovular in shape. This shape will become the body of your dragon. Lay the clay ball down on a flat surface and gently press downward to slightly flatten the bottom side. This will make it easier for you to use two hands to shape your model and it will also provide a flat surface to attach the legs.
Step 3
Pinch together bits of clay along the top of the clay ball to form spikes running down the dragon's back. These spikes do not need to be pointed unless you want them to be and they can be as large or as small as you want. The smaller you make the spikes, the more of them you will be able to fit in.
Step 4
Take another piece of air-dry clay from the container and knead it as you did with the first piece. This piece of clay should be slightly smaller than the first piece. After kneading the clay, break it into two pieces of equal size and place one of them back in the container to stay moist as you work with the other.
Step 5
Flatten out the piece of clay by pressing it down onto a flat surface with your palm and fingers. Shape the clay into an oval shape then pinch together pieces from one half of the oval into points. This will form one of your dragon's wings. Remove the second piece of clay from the container and repeat the process.
Step 6
Attach the wings to the dragon's back, one on either side of its spine. Position the wings so that the points face the same direction. Decide which end of the dragon's body you want to be its head and position the wings so the points face the opposite direction.
Step 7
Remove another handful of clay from the container and break it into four even-sized pieces. Shape each piece into a ball then roll it between your palms, stretching it into a cylinder shape. Pinch one end of each cylinder to create a foot shape and attach each leg to the underside of the dragon's body by pressing the top of the leg into the body and smoothing out the clay around it.
Step 8
Take another handful of clay from the container and divide it into two pieces of equal size. Shape each piece into a ball and roll them between your palms into cylinders making one slightly longer and thinner than the other.
Step 9
Take the longer, thinner cylinder and lay it out on the table. Lay the flat of your fingers on the end of the clay shape and move them back and forth. As you roll the clay it should start to come to a point. Attach this shape to the opposite end of the dragon's body as the head to serve as its tail.
Step 10
Take a small piece of clay from the container and roll it into an oval shape. Attach this piece to the end of the remaining clay cylinder and pinch two triangular ears from the top of the oval. This will form the head and neck of the dragon. Attach this shape to the dragon's body at the base of the neck and smooth the clay around it to secure it in place.
Tip
View pictures of dragons and dragon sculptures to use as inspiration for your own sculpture. Print off one or two pictures and keep them with you for reference as you mold your dragon.
Warning
Because air-dry clay only takes an hour or less to dry, cover or enclose in a container any pieces of clay that you are not using. Once the clay has dried its shape cannot be changed.
Video of the Day