Things You'll Need
Two pairs of slip-joint pliers
Tap set
Adjustable wrench
Teflon tape
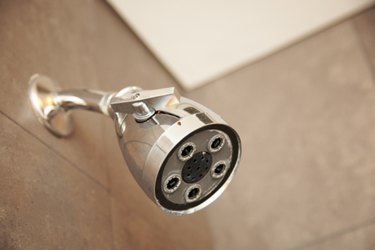
A shower nozzle threads onto the the water line coming from the wall. A shower nozzle becomes stripped over time with use or during the installation process. When a threaded item becomes stripped, the threads are damaged and no longer provide the fastening capabilities they once did. Repairing a stripped nozzle requires using a tool called a tap to remake the threads.
Step 1
Grasp the water line with a pair of slip-joint pliers and hold it steady.
Video of the Day
Step 2
Place the jaws of a second pair of slip joint pliers firmly around the nut of the shower nozzle. Turn the nut counterclockwise to remove it. Pull the nozzle away from the water line to which it is attached as you turn the nut.
Step 3
Select the correct size internal tap from a tap set. The correct size tap fits into the threaded part of the nozzle so the ridges on the tap come into contact with the sides.
Step 4
Turn the tap by hand clockwise so it threads into the nozzle one or two turns. Turn the tap so it is evenly threaded. Use an adjustable wrench to turn the tap once it is started. Do not drive the tap into the nozzle too far or you could damage it further.
Step 5
Back out the tap, turning it counterclockwise with the adjustable wrench.
Step 6
Wrap Teflon tape on the threads of the water line to help seal the connection between the line and the shower nozzle.
Step 7
Thread the nozzle onto the water line by hand until it is snug. Use the two pairs of slip-joint pliers to tighten the nozzle 1/2 to 3/4 of a turn.
Video of the Day