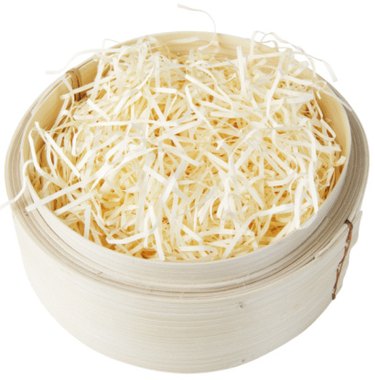
Things You'll Need
Basket
Filler
Gifts
Cellophane
Ribbon

Gift baskets are fun to make. In choosing a theme, shopping for gifts and arranging the contents of the basket, you can get creative while adding a personal touch to any gift. Whether you are assembling one gift basket for a loved one or many for a business, knowing how to properly fill them will help you turn your gift baskets into works of art.
Step 1
Choose a gift basket filler. Some examples include shredded newspaper, shredded tissue paper, Easter grass, large pieces of confetti, packing straw or colored foam balls. There is no right or wrong type of filler for a basket. Just choose something you like and/or that you feel matches the contents of the gift basket.
Video of the Day
Step 2
Fill the basket with your filler. If your items are small, fill the basket to the top. If your items are large, fill the basket three-quarters of the way up. The idea is to help display the items in the basket by giving height to small items. If you have a mix of large and small items, fill the basket almost to the top to accommodate the small items while leaving enough room in the basket to push down the larger items. Also, make sure the filler is densely packed to create a sturdy foundation for the basket's contents.
Step 3
Place the gift items in the basket. One common way of arranging gift basket contents is to put the largest items in the back, the smallest items in the front and medium-sized items in the middle. Alternatively, you can place the largest items in the middle, the smallest items along the rim of the basket and the medium items between the large and the small items. The former option provides a clearly defined front and back while the latter option makes the basket visually appealing from all angles.
Step 4
Fill in any empty spaces between gift items by adding more of the filler you used on the bottom of the basket.
Step 5
Wrap the basket with transparent cellophane. To do this, cut a large square of cellophane, sit the basket in the middle, pull the sides of the cellophane up so that they meet in the middle and tie it closed with a large ribbon. The cellophane not only makes your gift basket look more professional, but it also helps hold the contents of your basket in place. If you do not like cellophane, you can substitute tulle.
Tip
For an added touch, sprinkle confetti over the contents of the gift basket before wrapping it.
Video of the Day