Things You'll Need
Finished pen and ink composition on Bristol board
Correction fluid
Detail brushes
Ruler
Ink brush, pen or quills
Ink

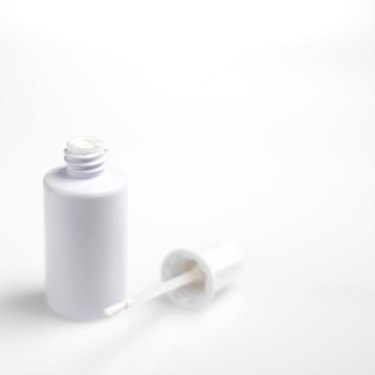
In pen and ink compositions, white out correction fluid can be a useful toning agent that can easily cover mistakes, define sharp edges and reclaim white space lost to ink smudging or heavy brush lines. The correction fluid, which comes in such brands as Wite-Out or Liquid Paper, dries faster than water-soluble paints, has a fluid application and provides a smooth drying surface. Though it may be a last resort for coverups in some instances, it can also be used for practical effects.
Add a White Border
Step 1
Place a ruler or a straight edge along the border of your composition where cleanup is needed.
Video of the Day
Step 2
Use a detail brush to apply a thin line of correction fluid that overlaps the edge of your ink border, covering any stray edges or uneven areas.
Step 3
Allow the first application of correction fluid to dry before applying a second coat in the same way.
Step 4
Use an ink pen and a ruler to outline the white edge, which creates a clean, tidy border around your composition.
Add a Glow
Step 1
Using a soft detail brush, add a thin line of correction fluid around objects that give illumination: the moon, a lantern or an open lighted doorway to a dark room.
Step 2
Using a straight edge, or by your own hand, add more delicate lines, or dots, around the first outline, to suggest the diffusion of the glow. This a great process for adding a glow around stars on a black night sky.
Step 3
With an ink pen or brush, add black lines or hatches between the white lines to heighten the contrast.
Lighten and Correct
Step 1
Lighten heavily hatched areas by applying thin lines of correction fluid between the thick black ones with a straight edge and a thin detail brush. You can overlap the black with white out to make the black lines thinner and farther apart, or divide a very dark line in half with a thin white line down the center of it.
Step 2
Break up straight black lines to create atmosphere by partially covering the black line in white out, leaving long or short black dashes between each white one. Broken lines give a lighter, freer feel to subjects such as the sky or water, while still creating a tone for those areas.
Step 3
Cover your mistakes completely with two applications of correction fluid, then redraw your image once the fluid is completely dry.
Tip
Use white out on Bristol board for best results.
Warning
White out is very runny. Avoid drips on your paper by blotting the detail brush slightly before applying the liquid to your composition. White out is also brighter than most paper, and gives a brilliant glow. Unless that is an effect you want for a finished piece, it is best to use white out for black and white compositions that are intended for print reproductions.
Video of the Day