Things You'll Need
Drip-edge flashing
Roofing nails
Hammer
Tin snips
Tar paper
Utility knife
Staple gun
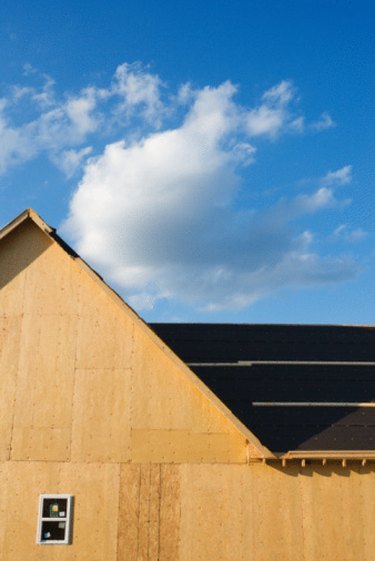
After covering the rafters of a new roof with plywood, you must cover the plywood with a waterproof membrane before you install a roof covering such as shingles. Builders use roofing felt or tar paper for this. They also cover the edges of the plywood that hang over the sides of the building with corner-shaped flashing called drip edge. It protects the edges of the plywood and prevents water from seeping underneath the soffits, or underside of the overhanging roof, and staining or damaging the siding. The drip edge goes under the tar paper and the roof covering.
Step 1
Install the drip edge tightly against the edges of the plywood sub-roofing so that it hangs down over the fascia. Nail it in place with 1-inch roofing nails. Cut a length of drip edge, when needed, with a pair or tin snips. Overlap joints where two pieces meet by about 1 inch.
Video of the Day
Step 2
Join lengths at corners, where the roof changes direction, by cutting the part of the drip edge that sits on the roof straight, and the part that overhangs at an angle. If the corner forms a valley, slant the angle toward the opposite end of the drip edge. If it forms a peak, slant the angle outwards and butt the lengths together with the angle cuts on the overhang overlapping one another.
Step 3
Lay the first course of tar paper lengthwise on the roof so one edge is covering the drip edge nailed to the roof. Unroll the paper on the roof and cut it to the correct length with a utility knife. Staple it to the plywood with a staple gun, placing the staples at 6- to 8-inch intervals along the edges and in the middle of the paper.
Step 4
Position the next course of tar paper farther up the roof so that its lower edge overlaps the upper edge of the paper in the first course by 1 foot. Staple down the tar paper. Install all subsequent courses with the same overlap until the top edge of the paper is within 6 inches of the roof's peak.
Step 5
Cover the peak with the last course of tar paper, folding the paper over the peak and extending the edges down to cover the paper you've installed on either side of the peak. It should overlap by about a foot.
Step 6
Extend the paper about 6 inches past a valley, where the roof changes direction, and cut the end parallel to the valley with a utility knife. When you install the paper on the roof forming the other side of the valley, lay the ends so that they overlap the paper already there by about a foot, and again cut the ends parallel to the valley.
Tip
Do not nail the drip edge to the fascia. It should hang freely over the edge.
You can screw the drip edge to the roof with self-tapping screws, if preferred.
Unrolling and stapling tar paper is easier with two people.
Video of the Day