Things You'll Need
1-inch plywood
Tape measure
Level
Tape
Pencil
Electric drill
Drill bits
Drywall saw
PVC Cement
Socket set
PVC cement
Clean rag
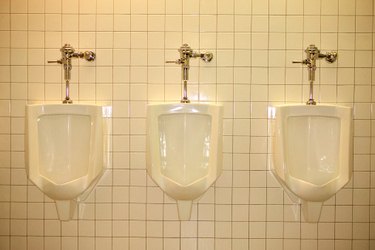
When designing a new home or during a bathroom renovation, homeowners almost never consider a urinal as a plumbing fixture. Because urinals are cheap to install and use far less water than traditional toilets, many homeowners are now reconsidering this device as a potential addition to their bathrooms. Many fixture manufacturers now maintain a line of aesthetically designed, residential-use models. Additional benefits of having such a fixture in the home include: sanitary design that may be cleaned quickly, low maintenance costs and potential space savings. Urinals are easy to install using simple hand tools.
Step 1
Provide structural support directly behind the finished wall surface in the location where the urinal will be installed. Unless the unit will be bolted directly to wall studs, the use of 1-inch, weather-treated plywood behind the drywall is recommended. Be sure the plywood is adequately secured to the wall studs before beginning with the installation.
Video of the Day
Step 2
Determine where the drain, wall hangers and water supply should be located using the supplied stencil. Tape the stencil to the wall in the desired location making sure it is level. The urinal rim height is traditionally located 24 inches above floor level but may be altered based on user preference. Using the stencil as a guide, carefully mark all locations on the wall with a pencil.
Step 3
Remove the stencil. Drill 1/4-inch pilot holes where the wall hanger screws will be mounted. Using a drywall saw, remove just enough drywall so that the water supply and waste water line can be modified to exit the wall in the desired location. Modify the water supply and waste line so they they exit the wall in the desired location. Double check their location by holding the stencil to the wall aligned with bit wall hanger mounting holes.
Step 4
Mount the urinal wall hangers in place using the supplied screws. Be sure to screw them firmly to the wall and to the wood supports located behind the wall. Verify that the hangers are level using a carpenter level for reference. Adjust as necessary.
Step 5
Attach the supplied outlet connection to the existing waste pipe using PVC cement. Adjust the placement of the outlet connection, so that it is located exactly where it has been marked on the wall with the stencil. If drywall removal was necessary, hold the stencil in place, and double check the location.
Step 6
Carefully hold the urinal in place slightly above the wall hangers, and align the the urinal outlet fitting located on the wall with the waste opening behind the urinal. Lower the urinal onto the hangers. Carefully tighten the attachment screws to secure the urinal firmly to the wall. Do not over tighten because the porcelain surface will crack easily.
Step 7
Connect the flush valve unit to the top of the urinal using the supplied inlet spud. The spud should be located between the flush valve and the urinal and will only slip into place if positioned properly. Tighten the flush valve securely, being careful to use the supplied rubber gaskets to prevent water seepage.
Step 8
Connect the water supply to the flush valve, and test the connection for drips and leaks. Adjust the flush valve as necessary if any leaks are noticed. The urinal is now ready to use.
Video of the Day