Things You'll Need
Pen
Cardboard
Knife
Leather sheets
Ruler
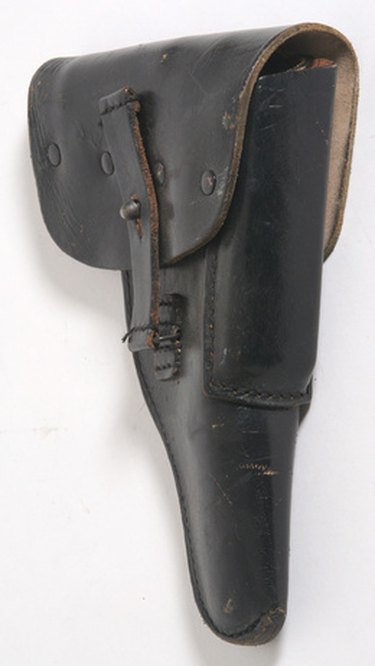
If you like guns and have one of your own, it's a good idea to have a holster, too. If you're crafty and enjoy making things with your own hands, you'll likely be able to tackle the task of making your own shoulder gun holster. Once completed, your gun can be stowed up out of the way and you'll have a beautiful leather accessory to show off.
Step 1
Draw out the pattern template of the holster on a piece of cardboard. This can be any design you want, but make sure there's a spot for your gun and space for two belt loops to secure to shoulder straps.
Video of the Day
Step 2
Cut one sheet of leather to the shape and size of your pattern. This can be done by placing the pattern on the material, then trimming it down to size. Flip the pattern over and cut another piece of leather. This will be the back side of the holster.
Step 3
Mark out the location of the gun with a ruler and pen. Include all the parts that will be inserted in the holster like the trigger guard, magazine and barrel.
Step 4
Glue together the two pieces of leather. Be sure not to glue the area the gun will be placed. Allow the glue to completely dry. Clamp the leather together to ensure a strong bond.
Step 5
Mark out the areas you will stitch the leather together. Again, avoid the area the gun will be placed. Use a leather hole punch to punch the stitching holes along the marks. Now double-stitch the pieces together. Finish by cutting the two belt slots into the holster, following your pattern.
Step 6
Use warm water to completely soak the holster until it's pliable inside and out. Wrap your gun in plastic and slip into the holster. Use your fingers to mold the wet leather around your gun. Let dry completely overnight or longer.
Step 7
Trim the rough edges off the holster and stain the leather to the color you wish, or leave natural.
Step 8
Cut two strips of leather, one that can wrap around your chest and the other that can loop from the holster and around your shoulder. The width of each strap should be no more then the belt slots you made in the holster.
Step 9
Attach two small belt buckles to one end of each leather strap. On the other end, punch holes for the buckle pin to lock into place. Slip each of the straps though the belt slots, the chest strap in the lower slot and the shoulder strap through the upper slot.
Step 10
Put on the holster and buckle the straps so they're snug. Make adjustments as needed, and insert the gun.
Video of the Day