Things You'll Need
Adjustable pliers
Piece of fabric
Teflon tape
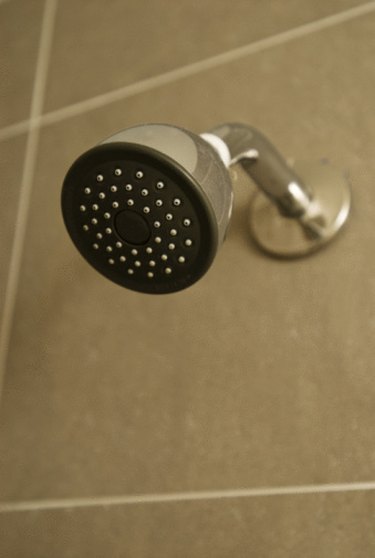
The decorative cover that goes over the hole in the wall where the shower arm protrudes is called the flange. The flange must be installed before you attach the shower head to the shower arm. Flanges rarely need replacing unless they become rusted or corroded. Clip-style flanges don't require you to remove the shower head. They clip around the shower arm pipe and can be slid back against the wall. Non-clipping flanges must be installed over the end of the pipe.
Step 1
Remove the shower head from the shower arm with a pair of adjustable pliers by placing the jaws of the pliers over the nut and turning it counterclockwise. Cover the nut with a piece of fabric to protect it from scratching.
Video of the Day
Step 2
Slide the flange over the end of the shower arm and along its shaft until it seats against the wall. No special adhesive or process is needed to hold it there. It just sits on the pipe in front of the hole in the wall. It's job is to hide the hole.
Step 3
Reinstall the shower head using the pliers.
Tip
Re-wrap the threads of the shower arm with Teflon tape before reinstalling the shower head. Clip-style flanges can be unclipped, spread apart and then wrapped around the shower arm pipe. Slide this type against the wall just like the aforementioned flange.
Video of the Day