Things You'll Need
Allen wrench
O ring kit
Ball peen hammer
Tool oil
Metal punch
Trigger valve assembly
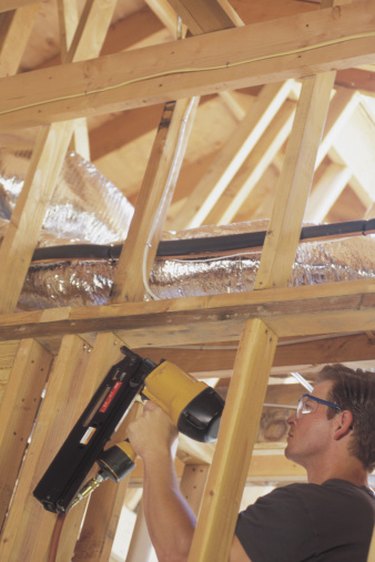
Air tools make light work of tasks that used to take years to learn. A framing nailer can cut the work of roughing in frames, from a single room or small garden shed, to a whole house in half. Bostitch nail guns, made and sold by hardware giant Stanley, ease the task for amateur and professional carpenters alike. The most common problems with most nailers, Bostitch included, is air leaks caused by degraded O rings, and trigger valve seals.
Replacing O Rings
Step 1
Remove the four mounting screws holding the vent cap on the back of your framing nailer, just above the handle. Use an allen key to remove the screws, turning them counterclockwise. Lift the cover from the rear of the nailer.
Video of the Day
Step 2
Pull the plunger cylinder from the gun. This appears as a solid white plastic disk, just inside the back of the nail gun. Use a small flat screwdriver if you need to lever it up then grab the rear of it, pulling firmly to remove the plunger from the chamber.
Step 3
Inspect the O rings for deterioration. If any of the O rings show signs of wear, replace all. O rings are the round, black gaskets fitted around the plunger cylinder. Depending on the model of your nailer, there will be one or two at the rear of the cylinder and one or two at the front. The kit also comes with a flat rubber washer that fits to the front of the cylinder. Replace the washer as well.
Step 4
Use a cotton swab to apply a small amount of Bostitch air tool oil to each O ring and the rubber washer and install them on the cylinder in the same location as the originals. Placement may vary from model to model. Consult the maintenance manual for more specifics.
Step 5
Reinsert the plunger into the rear of the tool and reinstall the vent cover, threading the four mounting screws back into the body of the nailer. Tighten them with the allen key.
Replacing the Trigger Valve
Step 1
Use a small metal punch and ball peen hammer to shift the two roll pins holding the trigger in the gun. One is located directly behind the trigger, the second is the last roll pin directly above the trigger, toward the handle. Tap the pins through to the other side, until the trigger is loose, and pull the trigger from the nailer. Leave the pin in the hole for reuse.
Step 2
Pry out the valve assembly, which is a green or white plastic disk that becomes visible at the top of the handle once the trigger is removed. Use a small screwdriver to pry it out.
Step 3
Use a cotton swab to apply air tool oil to the O rings on the replacement valve assembly. Slide it into the hole, aligning the notch on the outside lip with the roll pin. Tap the roll pins back into place with the hammer and punch, working slowly with light taps to avoid bending the pin.
Video of the Day