Things You'll Need
Utility knife
Flat-head screwdriver
Hammer
Paint scraper
Vacuum cleaner
Tack cloth
Laminate flooring planks
Flooring spacers
Measuring tape
Circular saw
Both tile and laminate flooring planks can be installed over wood or concrete subfloors. Since you must level either type of subfloor before laying tile, if you decide that you want to replace a tile floor with laminate flooring, you won't need to do as much work to make sure the floor sits level. Since you cannot lay laminate planks over tiles, though, you do have to remove the tiles from the subfloor before placing your laminate flooring, which leads to some additional prep work.
Remove the Tile Floor
Step 1
Cut away the caulk around the edges of the tile. First, make a slice into the caulk, using a utility knife, and pull the caulk up slightly to get a good space. Next, insert a flat-head screwdriver beneath the lifted edge of the caulk and slide the screwdriver beneath the caulk to pull it up from the floor.
Video of the Day
Step 2
Break ceramic or stone tiles by hitting each tile directly in the center with a hammer. Wedge the screwdriver beneath the broken edges of the tile pieces and pry the pieces up from the floor.
Step 3
Scrape the tile adhesive left behind on the floor, using a paint scraper, until all of the pieces of adhesive come loose. Use a vacuum cleaner to suck the pieces up off the floor, and then go over the floor's surface with a tack cloth to eliminate the dust left behind.
Lay Laminate
Step 1
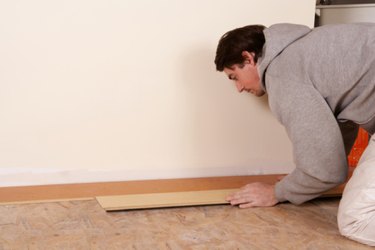
Put down laminate flooring planks side by side against one unobstructed wall of the room so the extended pieces coming out of the planks face the wall. First, place a spacer included with your laminate flooring against the end of the first plank where it touches the wall, and lay the end of each subsequent plank directly against the end of the plank that came before it.
Step 2
Cut a plank down to fit with a circular saw if you cannot fit a full plank at the end of the first row. Use a tape measure to measure the space left and mark the same measurement on the plank. When you cut and lay the plank, make sure you can fit a flooring spacer at the end next to the wall.
Step 3
Take the extended pieces off the backs of the flooring planks, using the circular saw. Next, push the entire row of planks up against the wall with spacers between the wall and the planks.
Step 4
Trim a plank down by 3 to 4 inches. Lay this plank at the start of the second row, lining up the extended piece on the plank with the groove in the first plank of the first row and then lowering the plank down so it locks onto the first plank. Next, lay full-size planks across the rest of the row, and cut down the final plank to fit into the space. Make sure you use a spacer at both ends of the row.
Step 5
Continue laying planks over the floor's surface with this method, alternating the size of the first plank in each row. When you get to the opposite wall from which you started, use a circular saw if necessary to fit the row of planks into the remaining space.
Tip
When you lay laminate flooring, spaces should be left around the sides of the room where the tile spacers were used. These spaces can be covered with flooring trim.
Video of the Day