Things You'll Need
Electric screwdriver
1/4-inch magnetic hex and 3/8-inch drill bits
Hammer
Nails
Caulk gun
Measuring tape
Screwdriver
Socket
Shank
Metal snips
Level
Crescent wrench
2 ladders (7 feet or larger)
1/4-inch masonry bit
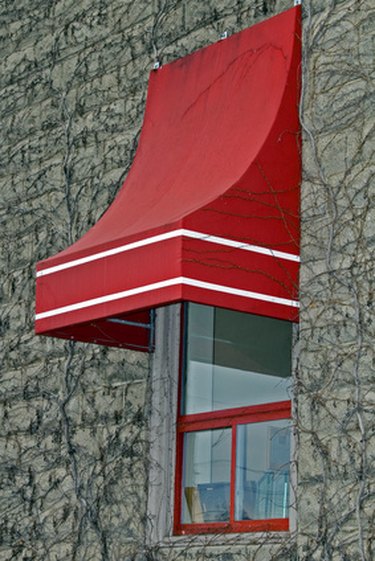
Awnings can add an island of shade to a porch or entryway, providing a spot for relaxation on hot summer days. Metal awnings, while not as flexible and colorful as their canvas counterparts, are far more durable, and a better choice if harsh weather is common in your area. Installing a metal awning will require some legwork, but the result will be a permanent addition to your home.
Step 1
Measure the awning, then determine where it will be mounted on your house. Mark the wall at the height where you wish the front edge of the awning to hang. Using this height and the length of the awning, calculate the diagonal that runs between the base of the wall and the front edge of the awning. Make an additional mark above your first mark, 4 inches up for each foot of length of the diagonal. Draw a horizontal line across the wall at this height. This line should be the width of the awning. Raise your awning kit's wall hanger (or C channel) so that its base is flush with this line, then hold it to the wall with two or three nails. Secure it with 3-inch screws at every foot.
Video of the Day
Step 2
Press the right and left side fascias into the appropriate ends of the fascia gutter. The left and right fascias are the smaller sections of your awning's frame. If your awning is extremely wide, you will need to assemble the fascia gutter (your awning's front edge) with a gutter splice. Secure the side fascias to the fascia gutter using self-tapping screws. Using your caulk gun, spread caulk on the foam blocks that come with the assembly kit, and press them into the corners where the front and side fascias meet. Mark the underside of the side and front fascias at every foot.
Step 3
Raise the assembled fascias to the approximate position for the awning. Support them with ladders or wooden posts while you continue working. Using self-tapping screws, attach the side fascias to the C channel.
Step 4
Drill two 3/8-inch holes in the bottom of the gutter for the post brackets. Attach the brackets to the gutter using slotted head bolts, being sure to place a fender washer between the bolt head and the surface of the gutter and caulk around this washer. Secure the other side of the bolts with appropriately sized nuts.
Step 5
Determine the placement of your gutter. The gutter should run parallel to the front fascia. Mark the spots for the appropriate support posts. Fasten the post bracket of the gutter to the wall using the anchors provided in the assembly kit.
Step 6
Raise the aluminum posts alongside the awning and gutter assembly. Determine the height for the posts, marking where they meet the front end of the awning and gutter. Cut off the sections of the posts above this line. When you are sure that your posts are of the correct height, attach them to the front of the awning with the assembly kit's bolts, and secure them with nuts.
Step 7
Place a section of the awning pan between the side fascias every 5 to 10 feet. Hold the pan section diagonally between the two fascias, then slide it so that it enters the fascias' channels. These sections will provide support for the awning during the next step.
Step 8
Install the awning pans, starting from the left side of the awning (while facing the building). Each pan should lock into the previous pan when installed properly. If this does not occur, press on the bare side of the pan you are currently installing. Attach each section of panning to the fascias with screws. Reuse the stabilizing pans you installed in the previous step. When all the pans are installed, secure the leftmost and rightmost sections of panning to the appropriate fascias with self-tapping screws.
Step 9
Determine in which direction water will flow from the front gutter, using a level to find the lowest point. Mark the lowest point in the gutter, then place the drop elbow underneath and trace around it on the bottom of the gutter. Also trace the locations of its screws. Use a hole cutter to drill to cut around the edges of this traced section, then slide the drop elbow into hole, caulking around its edges and securing it with self-tapping screws. Slide the downspout into the drop elbow, and attach this with self-tapping screws.
Tip
Check the local building code before installing an awning.
Warning
Do not cut the tops of the posts too low. If necessary, test the height of the posts by cutting above the line marked; you can always remove more the post later.
Video of the Day