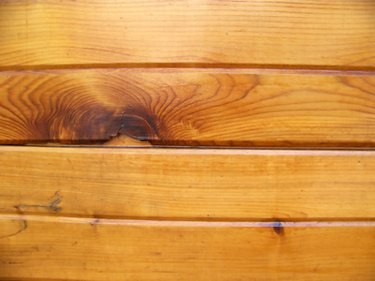
Things You'll Need
Clean, lint-free cloths
Mineral spirits
Wood filler
Protective face mask
Fine-grade sandpaper
Liquid sandpaper (optional)
Paintbrushes
Oil-based primer
Oil-based topcoat

You can paint over a surface of polyurethane varnish if you prepare it properly. Polyurethane is typically hard, durable and glossy, and it is these qualities that make a finish vulnerable to chips and flaking. You don't have to remove all the varnish before you start painting. Preparation will pay off in the long run by providing a long-lasting finish.
Step 1
Clean the surface with a cloth dampened with mineral spirits. Fill chips, holes or other damage with wood filler.
Step 2
Sand the surface with fine-grade sandpaper. Wear a protective face mask; dust from polyurethane varnish is toxic. Roughen the surface enough so the paint will adhere to it. Remove dust with a clean cloth and mineral spirits. Alternatively, use a liquid sandpaper that will dissolve the gloss surface of the varnish. Follow the manufacturer's directions.
Step 3
Apply a coat of primer to the wood. Don't skip this step; primer provides the proper surface to which a topcoat will adhere; it also disguises areas of filler. Allow to dry overnight.
Step 4
Paint on the first application of a topcoat. Let it dry overnight, then lightly sand and wipe the surface with a clean cloth and mineral spirits.
Step 5
Apply the second coat of topcoat. Allow the surface to cure for 72 hours before handling it or placing objects upon it.
Tip
Avoid “one-coat” paints; they are expensive and do not provide a long-lasting finish. If you do inadvertently sand back to the wood, you need to make sure that your primer is capable of stain-blocking, as natural wood can bleed resins that will force their way to the surface and spoil the painted finish.
Warning
Make sure your work area is well-ventilated. Dispose of used cloths carefully, as they are flammable. Do not use latex or water-based paint over polyurethane; the finish may crackle and it would be difficult to remove the paint.