Things You'll Need
Phillips screwdriver
Allen wrenches
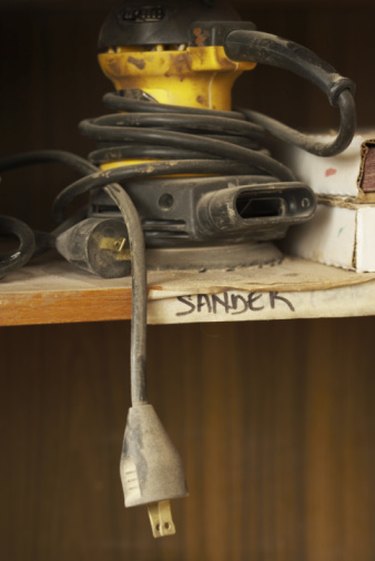
A random orbital sander is used for a variety of sanding tasks in woodworking. Because the motion of the sander does not have a specific pattern, a random orbital sander is commonly used for finish sanding. A sanding disk of the chosen grit is attached to a rubber pad on the bottom of the sander via hook and loop fastener. If the rubber pad on the sander deteriorates, you can replace the pad on a random orbital sander with some common hand tools.
Step 1
Disconnect the power cord from the electrical outlet.
Video of the Day
Step 2
Peel off the sanding disk from the sanding pad on the bottom of the sander.
Step 3
Loosen the mounting screws through the holes in the bottom of the sanding pad with a Phillips screwdriver or an Allen wrench (depending on the type of screws on your sander). Lift off the old sanding pad.
Step 4
Position the new sanding pad onto the bottom of the sander, and fasten it to the sander by tightening the screws through the holes in the pad.
Step 5
Place a new sanding disk on the sanding pad. Plug the sander into the electrical outlet, then turn on the sander and begin sanding.
Video of the Day