Things You'll Need
Powered drill with a screwdriver bit
Leather palm gloves
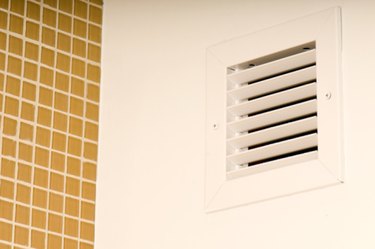
When remodeling your home, you may need to remove a heating duct. Heating ducts are made out of galvanized metal and secured together with sheet-metal screws. However, when removing a heating duct, ensure the furnace is turned off first. If not, air will exit the duct where it's disconnected and cause a big mess, especially if the duct is in an attic around blown-in insulation.
Step 1
Examine the heating duct in its location. Each duct section will be approximately 4 to 5 feet long, and at each connection you'll find sheet-metal screws.
Video of the Day
Step 2
Unscrew each sheet-metal screw from one of the connections on the section of duct you wish to remove. A powered drill with a screwdriver bit works fastest for this task, but a manual screwdriver works equally as well.
Step 3
Grasp the duct on each side of the connection. Pull the duct section out and away to separate it from the rest of the the duct work.
Step 4
Move on to the next connection and remove the screws. Pull the duct out of this connection in the same way as Step 3.
Step 5
Move to the next connection if necessary and repeat Step 4. Continue this process until the duct is removed as far as you need.
Warning
Leather palm gloves are necessary when working with sheet-metal duct. The edges are sharp and will cut if gloves are not worn.
Video of the Day