Fiskars makes a variety of bladed implements, some for outdoor use and many for indoor crafting purposes. The paper cutters that Fiskars makes also come with removable and replaceable blades for when the one you are using goes dull. If you need to change the blade on your sliding or rotary paper cutter, it is a relatively quick and simple process. Depending on the type of paper cutter you are using, the process varies slightly.
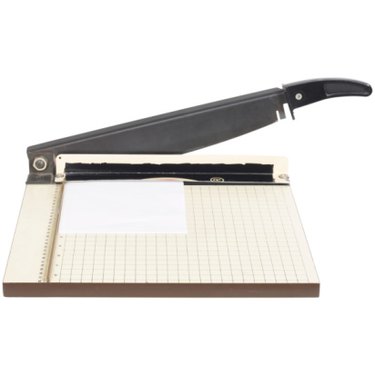
Sliding Paper Trimmer
Video of the Day
Step 1
Move the sliding cutter toward the removal groove. As the slider approaches the removal groove, lift it upward.
Video of the Day
Step 2
Remove the old blade by sliding it out through the removal groove. Discard the old blade.
Step 3
Push the new cutter blade through the removal groove and back into the channel. Test the cutter by sliding it up and down the channel.
Rotary Paper Cutter
Step 1
Slide the carriage button to the "open" position. Open the carriage.
Step 2
Pull the hub of the cutter blade out. Discard the old blade.
Step 3
Push the new blade's hub into the carriage and snap it closed again. The cutter is replaced and ready to use.
Tip
Confirm that you are using the correct replacement blades by checking the Fiskars website or packaging. The sliding cutter uses TripleTrack blades, which are listed as "Style I." The rotary cutter takes 28mm blades, listed as "Style F."