Things You'll Need
Modeling clay
Newspaper
Rubber gloves
Plaster of Paris
Butter knife or smooth wood stick
Sandpaper
Craft glue
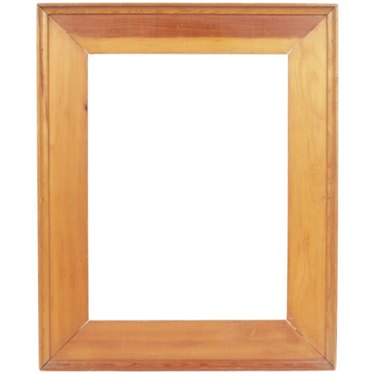
Wood picture frame
Whisk
Making a fancy plaster picture frame is a difficult process, because it is nearly impossible to make an entire frame from plaster. The plaster breaks easily and it is very heavy. You can fake the plaster look by creating an interior frame from wood and clay then covering it with a plaster exterior. This kind of frame is easier to make and is more durable. However, it is still important to take care with the frame so you don't chip the plaster frame.
Step 1
Lay the picture frame on a flat surface. Cover the work area with newspaper. Put on rubber gloves. Work the clay in your hands until it is flexible.
Video of the Day
Step 2
Create the shaping that you want to frame to have with the clay. You can make this as fancy as you like. Make sure it fits on the picture frame. Use the butter knife or wood stick to make any small details in the clay. Allow the clay to dry for 24 hours, or bake in the oven according to the package directions. Wait for the clay to cool before using.
Step 3
Glue the clay to the picture frame with craft glue. Allow the glue to dry for 24 hours. Sand away any rough edges with sandpaper.
Step 4
Mix plaster of Paris to a ratio of two parts plaster and one part water. Mix with a whisk until there are no lumps. You want the plaster to be thick enough to cover the clay like icing. If it is too watery, then add more plaster.
Step 5
Spread the plaster over the clay and the rest of the frame. You want to completely disguise the wood and the clay. It will probably take between three and five layers of plaster to obtain the correct coverage level. Allow the plaster to dry for 24 hours between layers. Allow the final layer to dry for 48 hours.
Step 6
Make sure the hanger on the back of the frame is large enough to hold the heavy weight of the frame. Add additional hangers as necessary to obtain the required support level.
Video of the Day