Things You'll Need
Pencil
Work gloves
Isopropyl alcohol wipes
Latex gloves
Clear roofing adhesive
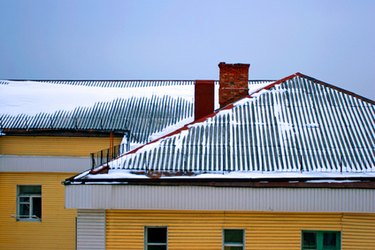
Snow guards are snow and ice retention devices for pitched metal roofs. They hold frozen precipitation in place, causing the snow or ice to melt or slide off a portion of roof in small pieces rather than dangerous chunks. Snow guards are like corrals that mount on the edge of a roof; others are little, strategically staggered triangular spikes that mount easily on a metal roof with strong adhesive. Installing the spike style of snow guards is not complicated. Manufacturers recommend professional installation, but a dedicated do-it-yourselfer with a secure scaffolding can do it. Wait for a dry day to work; the adhesive will not stick well to a damp roof.
Step 1
Place a mark with a pencil 6 inches up from the lower edge of the roof and 6 inches in from one side. Continue to make marks 6 inches up from the lower edge, placing them 24 inches apart as you move across the length of the eave.
Video of the Day
Step 2
Make a second row of marks 12 inches from the lower edge of the roof. Make the first mark 12 inches from the side rather than 6. Keep the marks 24 inches apart. so they're staggered with the first row of marks.
Step 3
Put on protective work gloves and clean the area around each mark with isopropyl alcohol wipes. As the pencil marks get rubbed off when you are cleaning, make new marks on the cleaned areas. Take off the work gloves and put on thick latex gloves.
Step 4
Apply clear roofing adhesive to the bottom of the first snow guard. Cover the entire bottom with the adhesive.
Step 5
Press the glued end of the snow guard along the first mark on the roof until the adhesive seeps out from underneath. Place the guard so the vertical edge faces up the slope of your roof. Wipe the excess glue from around the guard with your finger.
Step 6
Apply glue to another snow guard spike and, using the nearby staggered pencil mark as a guide, attach the guard to the roof. Continue to attach snow guards along the staggered rows on the roof in this fashion. In places that receive a lot of winter precipitation, manufacturers suggest installing snow guards only above entryways, to deter risk of roof collapse.
Tip
Some snow guards have screw holes in them so you can drill the guards in place; screws are necessary only if your locale experiences heavy snowfall.
Warning
If the pitch of your roof is extremely high, two rows of snow guards may not be sufficient.
Video of the Day