Things You'll Need
Wood
Saw
Measuring tape
Square
Hammer and chisel or router
Glue
Drill
Screws
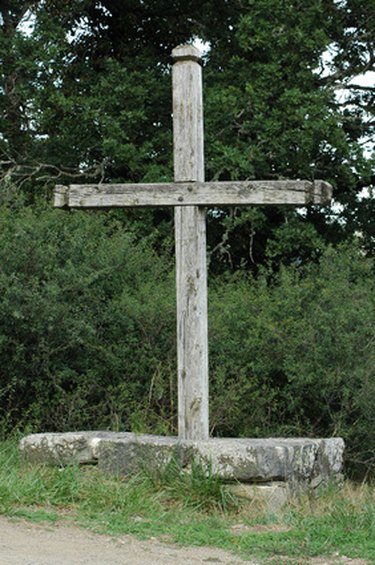
Wooden crosses have long been a symbol of Christ's crucifixion at Easter. Depending on the feelings you want to evoke, create a rugged cross of rough-hewn timbers or an elegant one painted white and draped with royal sashes. Whether you want to make a life-size cross for outdoors or a small one to display in a home or church, make the cross the same way, changing the dimensions. Set a large, outdoor cross in a post-hole in the ground or make a stand for a small indoor one or mount it on a wall.
Step 1
Saw a piece of wood to the length you want for the upright portion of the cross. If you plan to set it in the ground, allow extra length for the underground section. Choose 4-by-4-inch wood for a full-size outdoor cross or 1-by-3-inch wood for a table-top cross.
Video of the Day
Step 2
Saw a second piece of wood that's one-half the length of the first piece.
Step 3
Measure the length of the shorter piece with a measuring tape, divide by two and mark the middle of it. Measure the length of the longer piece, divide by three and put a mark one-third of the distance from one end. Lay the shorter piece centered across the longer one, one-third of the way from the top, using the marks as a guide. Set a carpenter's square against them to make sure they're at 90 degrees.
Step 4
Trace a line along the top and bottom of the shorter piece to mark where it crosses the longer board. Trace a line on the underside of the shorter piece to mark where the longer board crosses it.
Step 5
Remove the shorter board and turn it over. Cut away the wood in between the marked lines on both pieces to half the depth of the boards. Use a hand saw to cut halfway into the boards and chisel out the pieces with a hammer and chisel or use a power router to remove the wood.
Step 6
Fit the two boards together again, tapping them if necessary so each slips down into the notch on the other. Adjust the fit with a chisel or rasp if they're too tight. When you're satisfied with the fit, spread wood glue or epoxy on them and join them again.
Step 7
Set them so the shorter piece is on the underside and drill two pilot holes for screws into the section where the boards overlap. Choose 3/8-inch lag screws for a full-size cross. Use small screws or finishing nails for a small table-top cross. Select screws that will go about seventh-eighths of the way through the wood but will not protrude on the front.
Step 8
Insert the screws with a screwdriver. Let the glue dry and turn the cross over again so the cross-piece is toward the front. Paint or decorate it however you wish.
Tip
Make a stand for a table-top cross by sawing a 1-inch board 12 inches square or large enough to make a stable base for the cross. Saw a 2-inch-by-4-inch board as long as the cross is wide. Glue and nail the 2-by-4 block flat against the center of the base, running the nails up from below, through the base and up into the block. Glue and nail the cross to the front of the block with finishing nails to support the cross upright.
For a rugged, old-fashioned looking cross, substitute wrought-iron spikes for the screws and insert them from the front so the heads show.
For more strength and decoration, wrap rope, cord or thread crosswise both ways around the joint where the two boards meet, tying it off at the back.
Video of the Day