Shrinky Dinks, the iconic shrinking plastic sheets used for all sorts of craft and jewelry projects, require baking in an oven or toaster oven to shrink and harden into their final shapes. Designs drawn or stamped upon the shrinking plastic become brighter as the plastic shrinks and hardens into tiny charms, emblems, earrings and more. Some specialty Shrinky Dinks products require slightly different designing and baking steps, so be sure to consult the package instructions as well.
Designing Your Shrinky Dinks
Video of the Day
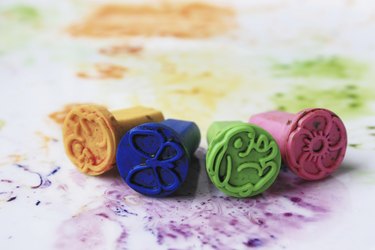
The most common types of Shrinky Dinks plastic are translucent, so they're perfect for both tracing and creating your own freehand designs. If you're tracing, place the original design beneath the plastic sheet. With frosted Shrinky Dinks plastic, place the rough side up. Trace or create the design with a black marker or a colored pencil, and then color in your design with colored pencils or markers. If you want to use stamps, an alcohol-based ink ensures the design won't smear -- other types of ink will smear. Cut your design slightly beyond the edges of the lines with scissors, and trim away any sharp corners. If you plan to hang the finished piece, punch a hole near the top with a regular hole punch. Anything you create and bake will shrink down to approximately one-third of its original size.
Video of the Day
Basic Baking Instructions
Preheat the oven to 325 degrees Fahrenheit. While the oven warms, cut one side of a brown grocery bag into a rectangle that fits on the top of a cookie sheet. Place the paper on the cookie sheet and fold one corner of the paper up, as a tab for lifting it after baking. Place your Shrinky Dinks designs colored-side up onto the paper, and then bake them for one to three minutes once the oven has heated. Watch the Shrinky Dinks through a window in the oven, or open the oven door slightly to check on them. Once the pieces lie flat instead of curling up, bake for 30 more seconds. Then remove the cookie sheet from the oven.
Slide the paper off the cookie sheet and place it onto a heat-resistant surface such as a cool stove burner. Press a flat weight, such as a phone book or thick pad of paper, on the warm Shrinky Dinks for 15 seconds as they cool. This ensures the plastic hardens flat, rather than curved. While ventilation is not required, opening a window slightly while working removes any potential odors or fumes.
Correcting Curved Pieces
Sometimes, the pieces curl up as they bake and stay that way when they shrink and cool. Bake the curled pieces again in a preheated 325-degree oven or toaster oven. This time, bake them for two to five minutes atop the paper-bag-covered cookie sheet, checking frequently to note when they lie flat or nearly flat. Remove the cookie sheet from the oven, and press a flat weight such as a phone book on the Shrinky Dinks for 15 seconds or so to help them flatten.
Intentionally Curved Pieces
If you're creating rings or napkin rings, for instance, you may want the Shrinky Dinks to harden in a curved shape. To achieve this, bake the designed plastic on the brown paper and a cookie sheet, as you normally would. Remove the cookie sheet from the oven once the plastic has shrunk and lies relatively flat. Quickly pick up the plastic using tweezers, and place it atop a curved, heat-resistant form such as a dowel or jar, pressing the plastic down as it cools to ensure it curves properly. The plastic hardens quickly, so you'll have only 10 to 15 seconds to curve it before it becomes hard.