Things You'll Need
Lumber as needed
Handsaw Variable speed drill
Philips head screw tip
1¼-inch drywall screw
Wood glue
Damp cloth
2-by-2-by-3-inch blocks
Wire or fiberglass screen
Scissors
Staple gun
3/8-inch staples
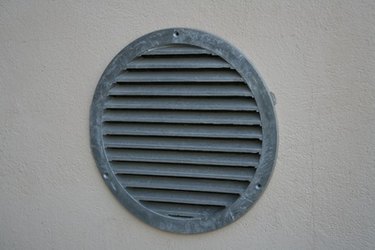
Wooden gable vents add to the decor of the exterior of homes with high or low-pitched roofs. They also look good over windows and even doorways. They help reduce the heat in the attic during the summer months, which cuts energy consumption that always helps the budget. Building a wooden gable vent is a do-it-yourself project that most homeowners can accomplish even if they do not have a lot of woodworking experience.
Step 1
Determine the size of the gable vent needed and cut the frame from the needed material with a handsaw. If the walls are 4 inches thick, use 1-by-4-inch lumber. Build the frame by cutting the sides to the desired height. Cut the boards for the width 1½-inches shorter than the overall width of the gable vent.
Video of the Day
Step 2
Apply glue to the ends of the width pieces and secure them between the sidepieces with 1¼-inch drywall screws. Lay the frame down so the open area is facing up. Clean up excess glue with a damp cloth.
Step 3
Run a bead of glue on the ends of the first slat (cut the same length as the pieces for the width) and place it between the sides. Hold the piece at an angle so one corner is against the bottom of the frame and the other corner on the front of the frame. Secure it to the frame through the sides with 1¼-inch drywall screws. The slats will not reach the back of the frame. Clean up excess glue with a damp cloth.
Step 4
Set the 2-by-2-by-3-inch blocks on top of the first slat, one on either end. Put glue on the ends of the next slat, put it on top of the blocks and secure it through the sides of the frame as you did the first one. Repeat this until all the slats are installed.
Step 5
Turn the gable vent over. Cut a piece of wire or fiberglass screen to fit the frame with a pair of scissors. Secure it to one of the long edges with a staple gun and 3/8-inch staples. Pull the screen tight across the width of the frame and secure it to the frame. Repeat this with the top and the bottom of the screen.
Tip
Install a frame around the gable vent after installation in the wall if desired.
Window or door gable vents, if not venting into an attic are used as decorative pieces only.
Warning
Do not tear the screen during installation.
Video of the Day