Things You'll Need
Broom
Epoxy injection kit
Polyurethane injection kit
Chisel
Hammer
Rag
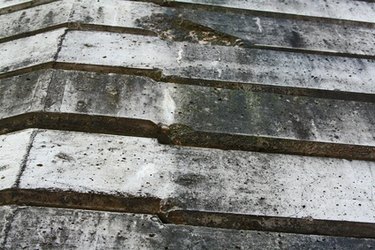
Advances in crack repair for home foundations extend to needed repairs in concrete roofs. New repairs using epoxy and polyurethane foam, when performed properly, offer years of relief from leaks. "For thin or hairline cracks, low viscosity epoxy resins will more often achieve better results. For very wide cracks, actively leaking cracks or cracks that exhibit obvious movement more often will have better results being injected with polyurethane foam," according to Polygem, Inc., a custom formulator of epoxy systems.
Epoxy Injection Crack Repair
Step 1
Clean the concrete by removing loose dirt or debris with a broom. The concrete needs to be dry. Soak up any standing water from the area.
Video of the Day
Step 2
Mix the epoxy paste according to package directions. Apply a small bead into the crack by pushing it in with the nozzle of the epoxy injector. Press the plunger with your thumb to force the product through the nozzle.
Step 3
Fill the crack completely with the epoxy. Allow enough time for the epoxy to completely harden. This may take up to 45 minutes.
Step 4
Inject the epoxy resin onto the epoxy-filled crack using the injector nozzle. Apply another small layer to the top of the crack in 10 to 15 minutes if working on a pitched roof.
Step 5
Remove the excess epoxy after drying by angling a chisel at 45 degrees and striking it lightly with a hammer. Sand the remaining epoxy with 150 grit sandpaper.
Polyurethane Injection Crack Repair
Step 1
Clean the area around the concrete crack. Fill the crack with the epoxy by using the injector. Let the epoxy harden over a 45 minute period.
Step 2
Add a small amount of water to the area. The water activates the resin.
Step 3
Slowly inject the polyurethane resin with the injector nozzle. The resin reacts with the water, causing the product to foam. Be carefull when adding the resin, as adding it too quickly creates a mess.
Step 4
Remove any excess polyurethane product with a damp rag before it cures or it will be impossible to remove it from the surrounding structures. The crack repair will cure within an hour or two.
Tip
Make sure that the epoxy has hardened before adding resin.
Cover other areas immediately adjacent to the repair to protect them from product spills.
Warning
Use caution when working on a roof.
Apply epoxy and resin on overcast days.
Video of the Day