Things You'll Need
Damp shop cloth
Urethane adhesive
Caulking gun
Silicone caulk
Painters tape
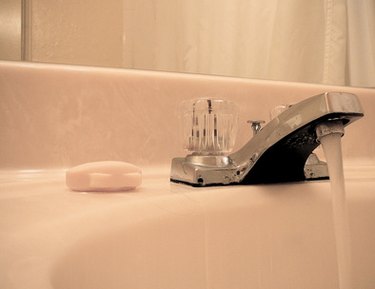
A backsplash on your bathroom vanity protects the wall from being soaked by spills and splatters. At the same time, the backsplash provides a finished appearance to the vanity and sink design. The key to installing a backsplash on your vanity top is to adhere it cleanly to both the counter top and to the wall behind it, giving you the best seal against moisture while ensuring the backsplash is set firmly in place.
Step 1
Clean the back edge of the vanity's top and the portion of wall where the backsplash will be attached, taking care to eliminate any grease, soapy residue and other dirt or dust. Wipe down the backsplash and remove all dirt, grease and adhesive residue.
Video of the Day
Step 2
Set the backsplash in place to make sure it is a proper fit. Temporarily remove it from the vanity top and set it face down on a work surface.
Step 3
Apply beads of urethane adhesive to the backside of the vanity, using a caulking gun.
Step 4
Apply a bead of silicone caulk onto the vanity top where the backsplash will sit. Squeeze the tube of caulk carefully and slowly to ensure a thin, even line of caulk with no breaks.
Step 5
Set the backsplash into place, pressing it firmly against the wall and vanity top so there are no gaps. If necessary, temporarily secure the backsplash in place with painters tape. Let the adhesive and caulk cure for at least 24 hours before using the vanity.
Video of the Day