Things You'll Need
Mold
Mold release agent
Plaster of Paris
Water
Plastic cup
Craft sticks
Talcum powder
Foam board
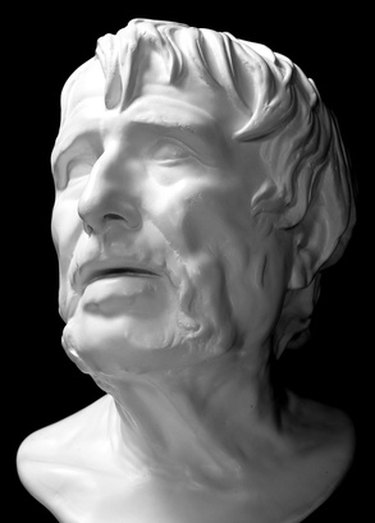
Plaster of Paris is a versatile modeling material that you can use to create detailed models with the aid of flexible molds. The plaster dries solid and will take on the slightest detail of your mold, from the smallest lines to subtle textures of the originally molded piece. The casting process of creating a plaster of Paris model is a quick one. With the proper materials, you'll end up with an accurate recreation that can be used as is or painted.
Step 1
Spray the interior of the mold with a light layer of mold release agent, available at an art supply store or hobby shop. The release agent forms a thin layer of protection between the plaster and the mold, which allows you to peel away the mold without losing any of the plaster in the process.
Video of the Day
Step 2
Mix a batch of Plaster of Paris sufficient for filling the mold. Mix the plaster with water in a plastic cup, using the mixture ratio provided by the plaster manufacturer's instructions. Pour a small amount of water into the cup followed by the plaster, mixing with a craft stick and adding water and plaster as necessary until you reach the consistency of pancake batter.
Step 3
Dust a light coat of talcum powder onto the interior surface of the mold to prevent air bubbles from forming as you pour the plaster. The powder also protects the mold itself from drying out during the hardening process. Plaster of Paris leeches moisture from mold material, so this step will extend the life of the mold.
Step 4
Place the mold in the center of an extruded foam board to provide a stable resting surface.
Step 5
Fill the mold with the Plaster of Paris, pouring the plaster into the mold from the corner and allowing it to flow into all of the mold's recesses. Lightly tap the foam board with the heel of your hand to agitate the plaster and force any air bubbles that formed during the pour to rise to the top of the plaster. Air bubbles caught within the plaster model will weaken it and can also cause distortions to the surface of the model, obscuring details. Wait the amount of time suggested by the plaster manufacturer for the plaster to set.
Step 6
Remove the Plaster of Paris model from the mold by gently peeling the mold away from the model.
Warning
Wear clothing that completely covers the skin as well as protective gloves when mixing and pouring the plaster, as the plaster will heat up as it sets and may cause burning. Wear a dust mask and eye protection to prevent eye and lung irritation.
Video of the Day