Things You'll Need
Nail gun, screw gun, drywall hammer, or variable-speed drill with bits
Appropriate nails for gun or hammer or screws for screw gun or drill installation
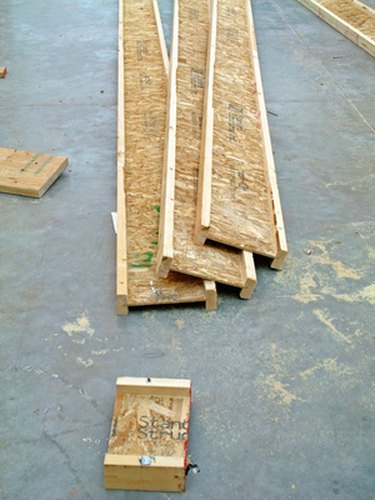
Stringers (as described)
Drywall
Work platform (optional, but recommended)
Drywall lift/jacks and/or a couple of assistants
Preparing roof trusses for hanging dry wall poses no particular difficulties, but you need to understand the strength and stability limitations of drywall and plan your work accordingly. Putting up runners—or "furring strips"—beforehand and planning for that in the design of the roof will usually solve the problem.
Determine Distance Between Trusses
Step 1
Truss manufacturers and structural engineers design the distance between trusses: 12 inches on centers (OC) if the trusses are for the floor above, otherwise 16 inches or 24 inches OC. You will almost always leave trusses greater than 24 inches OC open. Trusses 12 inches and 16 inches OC can be drywalled directly; trusses 24 inches OC will require runners or special drywall.
Video of the Day
Step 2
For direct application of drywall for less than 12-inch or 16-inch trusses, you should nail the drywall with 1 1/4-inch drywall nails about 7 inches OC. Exercise some caution at the ends of trusses because the truss will "work"—or move slightly—where it meets the wall. Don't nail or screw the drywall too close to that movement point; leave at least 3 to 4 inches between the last nail into the truss and the wall.
Step 3
Alternatively, you can use drywall clips, small right-angled clips that attach to the side of the joist. You screw the drywall up into the horizontal clips, which allow for slight movement between the joist and the drywall, which is advantageous because joists always "work" slightly in a ceiling, and the movement can crack drywall, particularly along the seams.
Step 4
When attaching drywall to trusses 24 inches OC, you can attach the drywall directly to the truss using thicker, 5/8-inch drywall or specially formulated drywall that resists sagging. Home improvement centers carry different brands; ask for "sag-resistant drywall."
Step 5
When dealing with trusses 24 inches OC, some drywallers, rather than pay more for thicker drywall or special drywall formulations, prefer putting up 2-by-3-inch wood furring strips—or runners—16 inches OC under the trusses and at right angles to them. If you do this, you then simply attach the drywall to the furring strips.
Tip
Ceilings tend to work a little more than walls. For one thing, unless they're directly under the roof, occupants will be loading and unloading the ceiling as they walk across the floor above. For this reason, always use stronger fiberglass tape rather than paper when mudding drywall ceilings.
Warning
Check for truss stability before putting up drywall. If you can grab the bottom of the truss and move it, you will need to stabilize the system first with 2-by-4 runners 16 inches OC and at right angles to the trusses. This will usually solve the problem. If in doubt, also use drywall clips instead of nailing or screwing directly into the truss; these allow some movement and will reduce further problems like nail pops, screws that work back out and splits along drywall seams
Video of the Day