Things You'll Need
Utility knife
Screwdriver
Rubber suction
Rag
Drill
Bucket
Vacuum
Crowbar
Mortar
Mortar pan
Mortar tool
Caulk
Caulk gun
Caulking tool
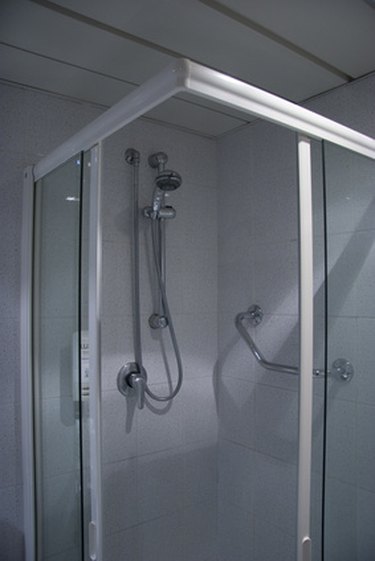
If you hear squeaks when you move around on the base of your shower, you may need to fix your shower pan. The shower pan is the base of a shower and is typically made of fiberglass. A squeaky shower pan is a sign that there is a gap between the shower pan and the floor. You can fix a squeaky shower pan by adding mortar underneath.
Step 1
Cut the caulking away from your shower pan with your utility knife. Be sure to cut all the caulking both inside and outside the pan.
Video of the Day
Step 2
Remove the drain on your shower by unscrewing the screws with your screwdriver and lifting up on the drain.
Step 3
Suction out any water that is sitting inside the plumbing pipe. Removing the water makes it easier for you to work around the shower pan.
Step 4
Stuff a rag into the drain pipe to keep sewage scents from coming up through the drain while you work.
Step 5
Use the utility knife to cut away the rubber flange on the inside of your drain around the plumbing. Use a drill to cut through tough parts of the flange. Cutting away the flange makes it easier to remove the shower pan to install the mortar. Pull the flange out of the drainage area. Discard the flange and all its rubber pieces.
Step 6
Vacuum out all the rubber particles from the flange. Don't miss any. You want to ensure a clean work area.
Step 7
Slide the crowbar underneath the outside of your shower pan and pry it upward. Pull the shower pan off the flower of your shower area to reveal the wood or cement floor below.
Step 8
Have mortar ready in a bucket. Apply mortar to the base of the shower with a mortar application tool. Place mortar all around the base of the shower directly onto the wood or cement. Leave 3 to 4 inches of space around the drain pipe area to allow the drain pipe freedom of movement. Smooth out the mortar, so you have a nice even layer of mortar on the wood or cement of your shower area. Allow the mortar to dry for 24 hours.
Step 9
Insert your shower pan back onto its rightful spot in your shower area on top of the dried mortar. Place a new rubber flange around the drain. Replace the drain in your shower pan with screwdrivers.
Step 10
Caulk around the edge of your shower pan where your shower pan meets your floor and walls. Seal all the areas around the shower pan with caulk. Use a caulk tool to scrape away excess caulk and to create a smooth, even seal. All to dry.
Video of the Day