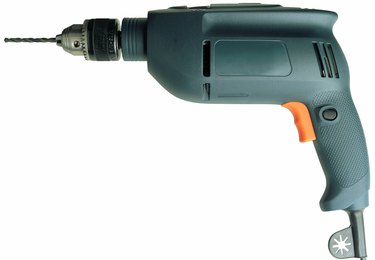
Replacing a Makita drill chuck is the same as replacing most other brands of drill chucks. The key is getting the chuck to release from the spindle after removing a screw that secures the chuck. Once you remove the faulty chuck, take it to a Makita dealer or a home-improvement center. Purchase a chuck that matches the old one for a good fit on your Makita drill.
Video of the Day
Things You'll Need
Replacement Chuck
Hammer
Phillips-Head Screwdriver
1/4-Inch Allen Wrench (Larger If You Do Not Have 1/4-Inch)
Step 1
Press the locking tab on each side of the battery, and pull the battery out of the Makita drill.
Video of the Day
Step 2
Twist the drill chuck counter-clockwise to open the chuck jaws. Look inside the middle of the chuck, and locate the screw that secures the chuck to the spindle.
Step 3
Remove the chuck's securing screw with a Phillips-head screwdriver. You must turn the screw in a clockwise direction because the screw is a left-handed thread.
Step 4
Insert the short end of a 1/4-inch or larger Allen wrench into the chuck, and tighten the chuck around the wrench as you would with a drill bit. Tighten the chuck around the Allen wrench, using the chuck key.
Step 5
Lay the Makita drill on its side, with the long end of the Allen wrench pointing to the left. Strike the Allen wrench with a hammer to turn the drill chuck counter-clockwise. Twist the chuck off the spindle by hand.
Step 6
Thread the new chuck onto the spindle, and open the chuck jaws fully. Secure the chuck to the spindle with the retaining screw. Turn the screw counter-clockwise to tighten. The chuck will seat itself the first time you use the drill.