Things You'll Need
Pry bar
Circular saw
Safety glasses
No. 3 mini sledge hammer
Floor scraper
Dish soap
Water
Bucket
Chemical glue stripper
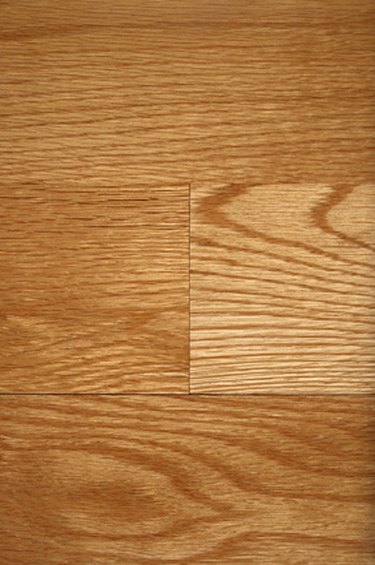
Engineered wood is a composite flooring product topped with real wood veneer. Installers typically install engineered floors using glue to fasten the wood to the subfloor. In some instances, the panels are glued to one another but not to the subfloor. Depending on the installation method, some engineered floors are more difficult to remove than others. Choose the right tools and equipment for this project to shorten the duration of the job and even reduce the difficulty level.
Step 1
Examine the edges of your floor. At one side, you should see a full floor board, which indicates where installers started laying the floor. At the other, you will see a partial, or ripped, board, which indicates where installation was completed. Start removing engineered flooring from the side with the full board.
Video of the Day
Step 2
Pry up the first full row of flooring using your pry bar and mini sledge. Check that the tongue side of the board is facing toward you. It is almost always easier to remove engineered flooring from the tongue side rather than the grooved edge of the board.
Step 3
Set your circular saw to the exact depth of your engineered flooring. Put on your safety glasses and cut along the seams of the floor every 12 to 18 inches. Cut from one end of the board to the other, taking care not to damage the wall.
Step 4
Use your circular saw to make perpendicular cuts to the ones you just made along the seams. Cut the floor boards from one end to the other every 12 to 15 inches across the floor surface. Take care not to damage the walls as you make these cuts.
Step 5
Slide your pry bar under a section of flooring along the starter row. Use your pry bar and mini sledge to pry up each section of engineered flooring.
Step 6
Scrape adhesive off the subfloor using a floor scraper. Add a bit of soapy water to the floor and let it soak into the glue if you are having trouble with removal.
Step 7
Apply a chemical adhesive stripper to tough, adhesive spots. Make sure the room is well-ventilated, then apply the stripping compounds to the glue using a paintbrush. Let them soak into the glue for a period of time (check the label), then scrape the glue away with your floor scraper.
Tip
Keep your safety glasses on to avoid eye injuries when cutting and removing the floor. Turn on fans and open windows to ventilate the room as you apply chemical stripping solutions.
Video of the Day