Things You'll Need
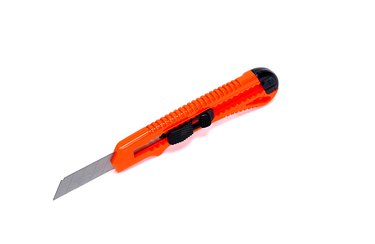
Utility knife
Paint scraper
Hammer
Screwdriver
Plaster washers
1-5/8 drywall screws
Drywall or mesh patch
Fiberglass drywall tape
Drywall knives
Joint compound
Sanding sponge or screen
Primer
Plaster is a hard and durable material, but when it gets wet it crumbles easily. Fixing a water damaged plaster ceiling can be a little more involved than fixing a drywall ceiling. Plaster is held in place by wood lath (thin strips of wood backing the plaster) and you should be able to attach a drywall patch to it if necessary. You can repair plaster relatively easily using drywall and joint compound, as long as you allow about three days for the project.
Step 1
Remove all the crumbling plaster and peeling paint. If the damaged patch is larger than about four inches in diameter, use a utility knife or chisel-edged scraper and hammer to cut it out in a neat, square section. For very large repairs (more than 12 inches in diameter) cut the old plaster away to reveal the ceiling joists. You'll need something more solid than lath to attach a large drywall patch to.
Video of the Day
Step 2
Push up on the ceiling surrounding the damaged area. If it moves or gives under your hands, secure it to the lathe with 1-5/8 inch drywall screws and plaster washers. If you skip this step, the weight of the sagging ceiling will crack your repair.
Step 3
Cut a piece of 5/8-inch drywall to fit the hole with a utility knife. If the hole is six inches in diameter or smaller, use a metal mesh plaster patch. For smaller holes or cracks, you probably won't even need anything more than joint compound and fiberglass mesh tape.
Step 4
Apply a first coat of joint compound to cracks and gaps with a 6- or 8-inch drywall knife.
Step 5
Cut fiberglass mesh tape to the length of each gap and press it into the wet joint compound. Smooth off the excess with the drywall knife and let it dry for at least eight hours.
Step 6
Apply at least two more thin coats of joint compound over the repair, extending the compound well beyond the margins of the patch so it blends in with the rest of the ceiling.
Step 7
Sand the final coat of joint compound with a drywall sanding screen or sanding sponge. Run your hand over it to feel for ridges or uneven spots.
Step 8
Prime the drywall. If you see any brown or discolored areas on the patch or the surrounding ceiling, use a tinted shellac or stain-blocking primer. Brown discoloration is from water damage and will show through latex paint if you don't prime it.
Tip
Repair the source of the leak before fixing the ceiling. Don't sand in between coats of joint compound. If there are ridges or lumps, knock them off with the drywall knife. Sanding in between coats is likely to give you a wavy, uneven surface. For a harder, more durable repair, use plaster patch or Plaster of Paris. Be aware that unlike joint compound, it is much harder to sand smooth.
Warning
Wear eye protection, especially when scraping and sanding above your head or on a ceiling. Don't rinse excess joint compound down a drain; it can harden in the pipes. Instead, scrape it into a trash bag. It's OK to wash the small amount remaining on your tools down the drain.
Video of the Day