Things You'll Need
Dust brush
Clean rags
Denatured alcohol
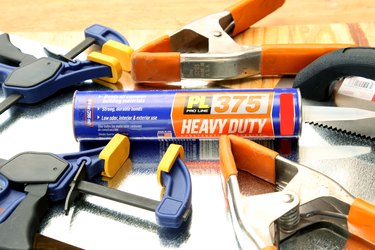
Construction adhesive in a caulk tube
Drop-in caulking gun
Utility knife
Small tile trowel
Hand-held construction roller
3/8th inch plywood cut smaller than the metal and wood being bonded
4-5 gallon buckets filled with dirt or sand
Clamps
Adhesive and clamping are vital to the strength of the bond between wood and metal. Clamping the materials together allows the metal to fully bond to the wood, without leaving gaps and voids. Air trapped in voids will expand and contract with temperature changes. With each temperature change, the increased and decreased air pressure will enlarge the void until the bond fails. Gaps resulting from an improper bond allow moisture to penetrate the area between the wood and metal. Expansion caused by the water absorbing into the wood will break the bond between the wood and metal.
Step 1
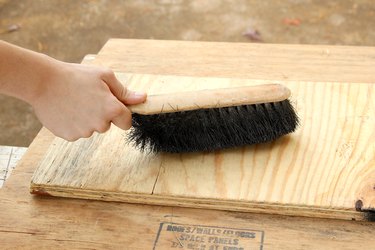
Brush down the surface of the wood that is going to have the metal bonded to it with the dust brush. It is important that you remove all the dust and debris from the wood's surface. If debris gets into the bond between the wood and metal, the metal will dimple and a void will form around that area.
Video of the Day
Step 2
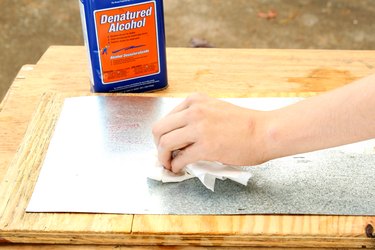
Clean the surface of the metal with a clean rag and denatured alcohol to remove dirt and oil from the surface of the metal. Oil will reduce the bond that the adhesive has with the metal. Place the metal next to the wood, with the clean side up.
Step 3
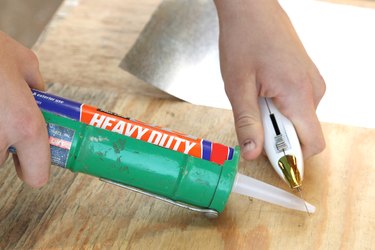
Put the tube of construction adhesive into the drop-in caulk gun. Cut a 45-degree angle on the nozzle of the construction adhesive with the utility knife. The nozzle opening should be around 3/16ths of an inch in diameter.
Step 4
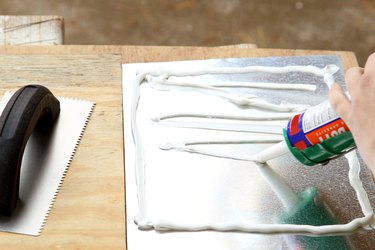
Apply the construction adhesive to the cleaned side of the metal sheet. Run a solid bead of adhesive around the perimeter of the metal sheet, 1/2 of an inch from the metal's edge. Start at one end of the metal sheet and place a bead that zigzags across the surface of the metal. Do not overlap the zigzag beads with the bead that you placed around the perimeter of the metal. Spread out the zigzag beads of adhesive with the tile trowel. Keep the perimeter bead of adhesive intact.
Step 5
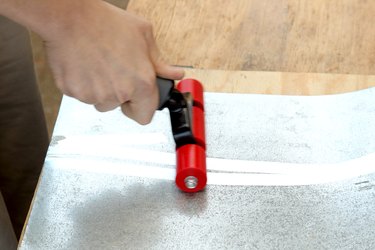
Place the glued side of the metal onto the cleaned surface of the wood. Work the air from the bonded area by rolling the construction roller on the metal sheet. Start rolling from the center of the sheet and work your way to the sheet's edges.
Step 6
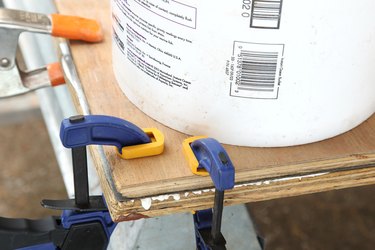
Place the smaller piece of plywood over the metal. Set the 5 gallon buckets evenly around the plywood to place weight on the metal sheet. Clamp the edges of the metal to the wood to pull the bond together.
Step 7

Wipe the excess adhesive that squeezes from underneath the metal with a rag. Be careful not to get any of the glue on the surface of the metal.
Step 8
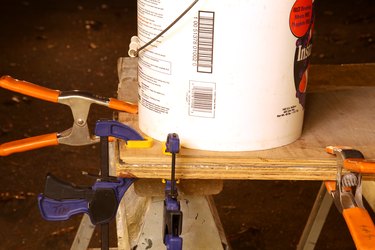
Leave the wood and metal clamped for 24 hours, or the recommended time specified on the construction adhesive tube. Remove the clamps, 5 gallon buckets and the small piece of plywood after the bond has completely cured.
Video of the Day