Things You'll Need
Pre-built outdoor treated railing sections
4-inch by 4-inch outdoor treated posts
2-inch by 6-inch outdoor treated lumber for perimeter
EZ brackets & bolts
Circular saw
Hammer drill
Speed square
Chalk line
A common problem with older homes is porch railings that have become loose or rotten over time. This can be a hazard and should be repaired as soon as possible. While you must be careful and some knowledge of tool handling is required, this is a repair that most average homeowners can accomplish in a couple of hours.
Step 1
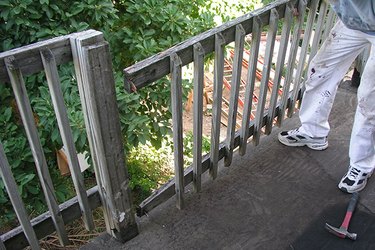
Remove the old railings and inspect the posts. You should be able to hammer the nails loose or remove the screws at the top and bottom of the rails at the posts and discard the railing in sections. Cut the posts off even with the decking if they need replaced and can't be removed entirely.
Video of the Day
Step 2
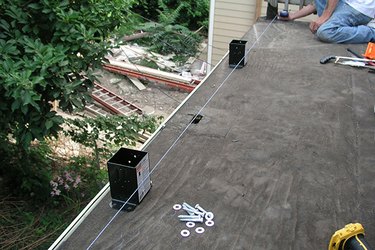
The simplest method to replace posts is to use EZ brackets and 4-inch by 4-inch posts. These are available at most home improvement stores. Measure the length of porch railing needed and set one bracket on each end and at even intervals no more than 8 feet apart. Snap a chalk line to maintain a straight alignment.
Step 3
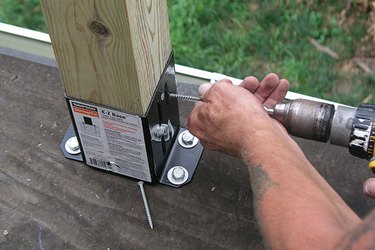
Pre-drill the holes and bolt the brackets into the decking. Set in the 4-inch by 4-inch posts and install the bolts into the posts.
Step 4
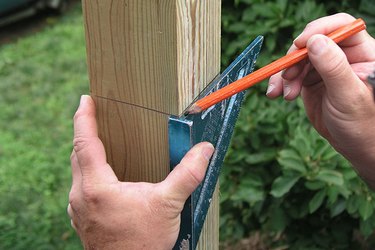
Snap a chalk line from end to end to mark the height of the posts. Using a speed square, draw a pencil line at the marked height all the way around the each post.
Step 5
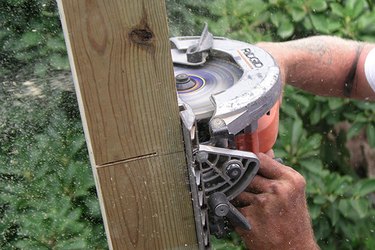
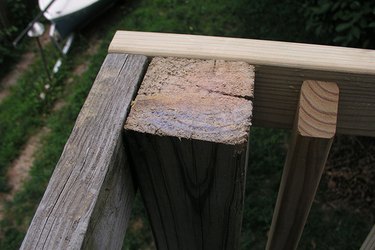
Cut along the marks on each side of the posts using a circular saw. (Make sure the area is clear where the cut-off will fall.)
Step 6
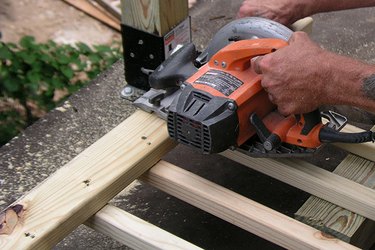
Measure the distance between the center of the posts and cut the railing sections to fit. Pre-drill holes in each end of the railing. Start the screws in the holes before moving the railing into place.
Step 7
Drive the screws into the posts, securing the railing in place. It might be necessary to remove a baluster from the railing section at the point where railing section attaches to the post.
Step 8
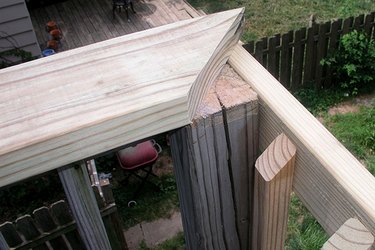
Measure the distance of the perimeter of the railing and cut the 2-inch by 6-inch boards to fit, mitering the joints at the corners. Screw this top plate in place and secure the railing to the posts even further.
Step 9
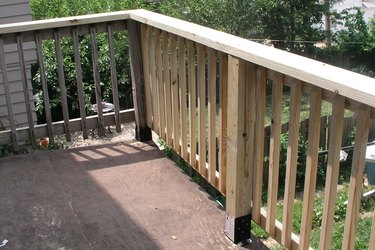
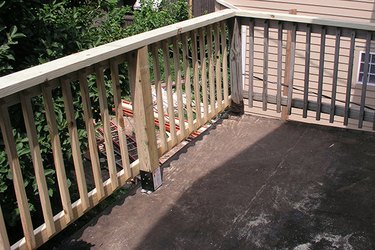
And you're finished. A beautiful railing -- and a nice place to set your drinks to celebrate your project's completion!
Tip
Tie yourself to a safety line attached to the house if you are working more than 6 feet off the ground. Treated lumber must season before it can be painted.
Warning
Wear safety glasses when using a circular saw.
Video of the Day