Building your own bookcase out of PVC pipe is a budget-friendly solution when you want to customize furniture to fit your personality and style. This bookcase is easy enough for even the most modest beginner and won't take long either. Create an industrial and chic look by painting the pipes a dark matte color.
Video of the Day
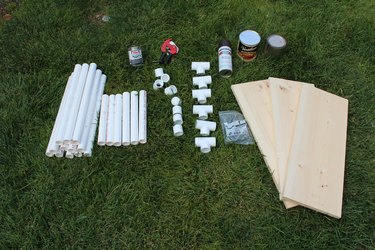
Things You'll Need
Tape measure
Pipe cutter
1-inch PVC pipe, 30 feet
6-by-12-foot pine wood board
Circular saw
PVC cement
1-inch three-way PVC connectors, 12
1-inch 90-degree PVC elbows, 4
1 1/4-by-3/4-inch PVC bushing, 4
Spray paint (optional)
1 quart of wood stain
Latex gloves
1-inch 2-hole galvanized hangers, 12
Power drill
3/32 drill bit
Screw driver
1/2-inch metal screws, 24
Step 1: Cut the PVC Pipe & Wood
Start by cutting the PVC pipe. Cut 12 18-inch pieces, six 12-inch pieces, two 17-inch pieces and four 2-inch pieces using the pipe cutter. Now cut the wood into three 2-by-12-foot pieces using the circular saw.
Video of the Day
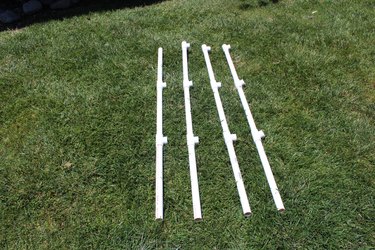
Step 2: Build the Shelf Legs
Take an 18-inch piece and attach a three-way connector to it with PVC cement. Now attach another 18-inch piece to the connector as though the pipe is continuing straight. Attach another three-way connector to the other end of the 18-inch piece. Before the cement is completely dry, set the pieces down on a flat surface and make sure the connectors are facing the same way. Next attach a third 18-inch piece to the three-way connector as though the pipe is continuing straight. Attach one more three-way connector to the top of the last 18-inch piece. Again, before the cement dries completely, place the pieces down on a flat surface and make sure the connectors are all facing the same way. Build three more legs just like this one.
Tip
Each time you connect a piece of pipe to a 90-degree elbow or three-way connector, you need to apply PVC cement to the inside of the connector piece and also on the outside of the pipe, about 1/2 inch on both. After connecting each piece, be sure to wipe away any excess glue with a wet paper towel.
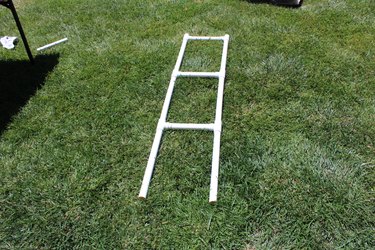
Step 3: Connect the Legs Together
Take two of the legs you just built and attach them together by placing a 12-inch PVC pipe horizontally into the first tier of the three-way connectors on each leg. Now do the same thing on the remaining two tiers, and you will have one side of the bookcase. Repeat this step with the last two legs to create the other side of the shelf.
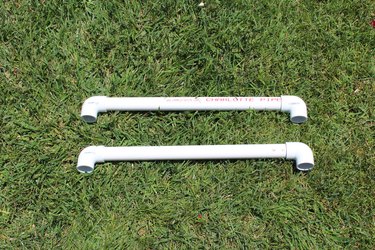
Step 4: Create the Top Connectors
Take the two 17-inch pieces of PVC pipe and attach 90-degree elbows to each side. Lay them on a flat surface before the cement dries to make sure the elbows are facing the same direction.
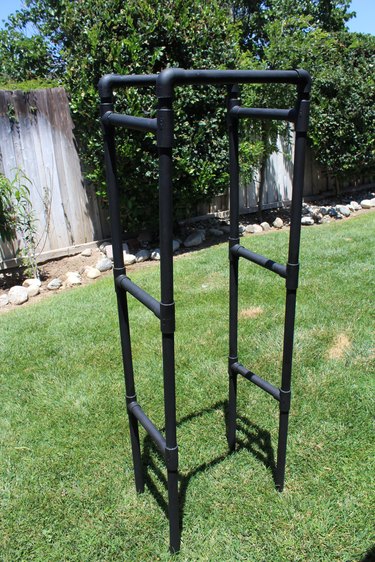
Step 5: Connect the Two Sides
Attach a 2-inch piece of PVC pipe to the top of the three-way connectors at the top of your legs. Now attach the two sides of the shelf together using the 17-inch pieces you built in the previous step. Attach the bushings to the bottom of the legs to give the shelf extra support.
Optional: At this point, you can spray paint the shelf any color you like. This bookcase was painted with a flat black paint to give it an industrial look. To avoid paint drips, paint several light coats, allowing time to dry in between coats.
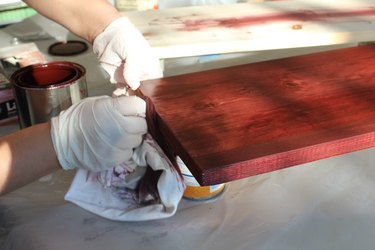
Step 6: Stain the Wood
Stain the wood shelf pieces, following the manufacturer's instructions on the label. The longer you keep the stain on the wood before wiping it off, the darker the stain will be. Make sure to time how long you stain each piece to make sure you have the same shade for each piece of wood.
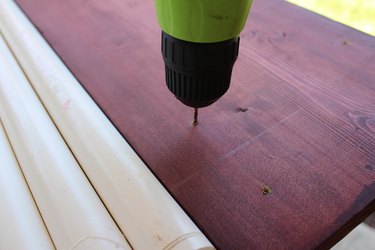
Step 7: Pre-Drill Holes Into the Shelves
Once the stain and spray paint are completely dry, place a board horizontally on top of the first tier of pipes to create the top shelf and make sure it is centered. Once the board is positioned, place a galvanized hanger underneath the board, wrapped over the PVC pipe that the board is resting on. Use a pencil to mark where the drilled holes will go. Be sure to use two hangers for each side of the boards. Once all three shelves have been marked, pre-drill holes into each of those spots using a power drill and the 3/32 drill bit. Do not drill all the way through; these are just starter holes for the screws.
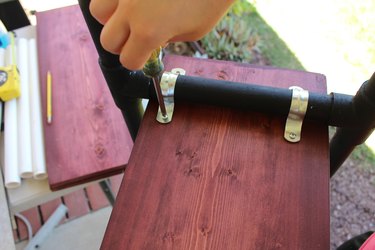
Step 8: Attach the Shelves
Flip the bookcase upside down to make screwing in the screws easier. You may need a helper to hold the wood in place. Now place each piece of wood on each tier of the bookcase and screw the hangers into the spots that you pre-drilled with holes. Be sure to do it by hand using a screwdriver. If you use a power drill, you may end up splitting the wood.
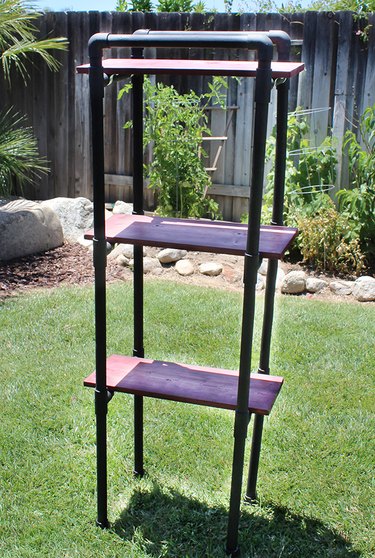
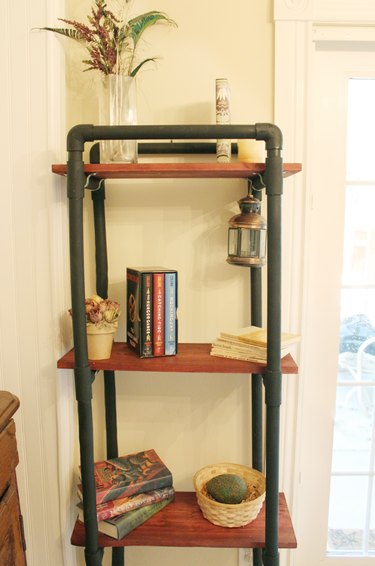
Your PVC book shelf is complete. Place it where you would like it and spruce it up with items such as books, candles, flower vases and other assorted decor.