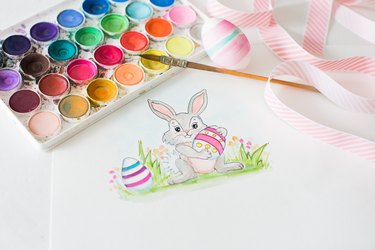
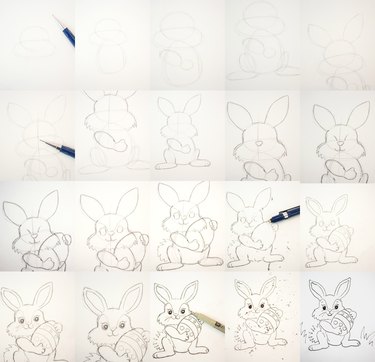
Whether you're young or old, one of the sweetest symbols of Easter are the cute little bunnies, with their sweet smiles and colorful chocolate eggs. This tutorial makes drawing a cute cartoon Easter bunny simple and ideal for a young budding artist.
Things You'll Need
Pencil
Eraser
Paper
Fine point marker (optional)
Pencil crayons, markers, watercolor paint (optional)
Step 1
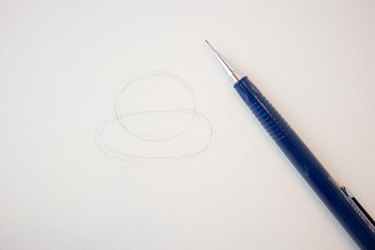
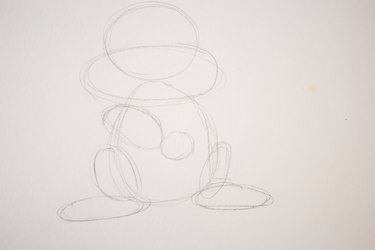
Use a pencil to lightly draw a circle, which will serve as the bunny's head, followed by a horizontal oval (serving as the mouth/cheeks) that overlaps the bottom of the circle.
Video of the Day
Step 2
Draw a vertical egg shape, which will serve as the bunny's body, with the top of the "egg" touching the bottom of the circle.
Step 3
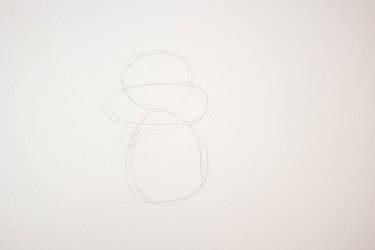
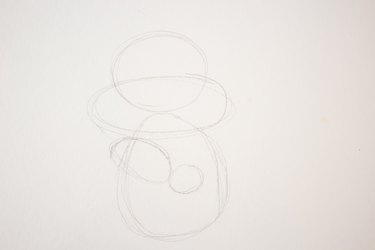
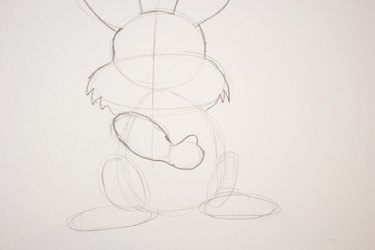
For the arms, draw a perpendicular oval at the side of the body and a small circle at the end of the oval to shape the hand or paw.
Step 4
For the legs or back paws, draw a vertical oval at the side of the hip, followed by a longer horizontal oval to form the foot. Repeat the same step on the other side of the body.
Step 5
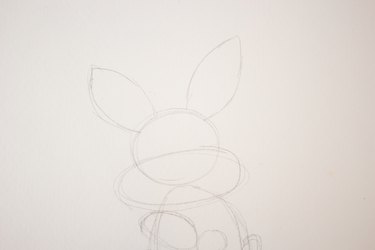
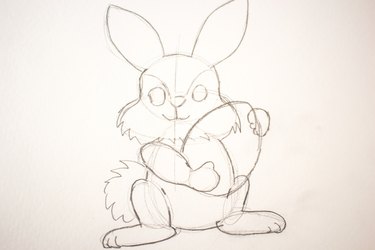
Lightly draw two leaf shapes at the top of the head for the ears.
Step 6
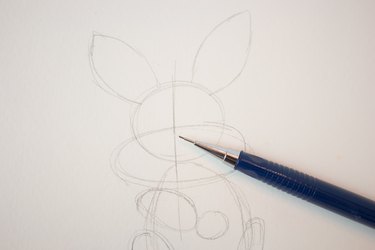
Lightly draw a vertical line in the middle of the face. This will serve as a guideline for the position of the facial features.
Step 7
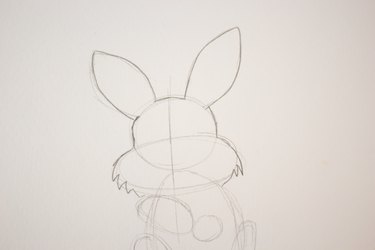
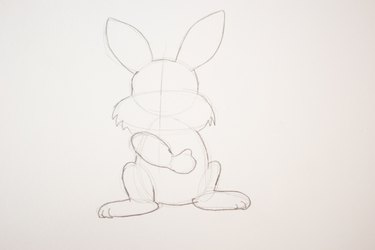
It's time to shape the bunny. Trace over the ears and join them to the outer lines of the head. When you reach the cheek area, draw irregular zigzag lines on each side to represent fur.
Step 8
To shape the arm, follow the same process as the step above to unite the arm and the hand. Give it a little thumb.
Step 9
To shape the leg and foot, trace the outlines of the two ovals and unite them with one solid line. Take small breaks at the foot to form the toes. Continue tracing along the underbelly and onto the other leg and foot.
Step 10
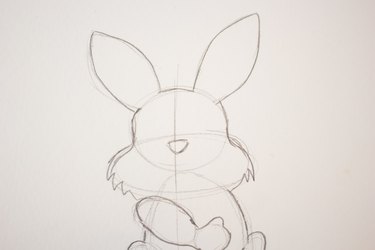
For the nose, draw a little upside down triangle underneath the center guideline, making sure it's centered on the head.
Step 11
Draw a small "j" shape underneath the triangle and another reversed "j" right beside it to form the mouth.
Step 12
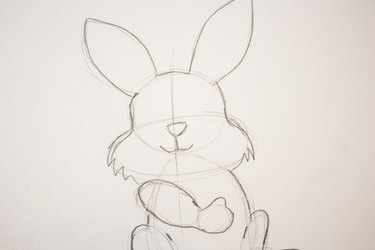
Draw in the two lines to indicate the eyes. At the same time, you can draw in an Easter egg coming out of the arm, and add a little round paw at the top of the egg.

Step 13
Draw two little circles at either side of the guideline to form the eyes. Then draw a zigzag circle behind the left leg for the tail.
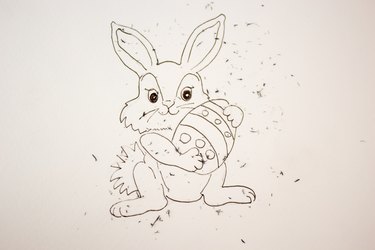
Step 14
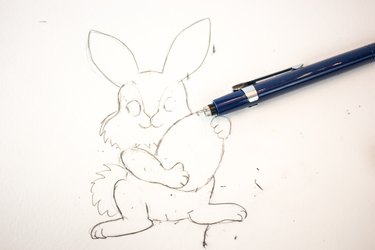
It's time to start cleaning our drawing by erasing all of the initial light lines of the circles and ovals.
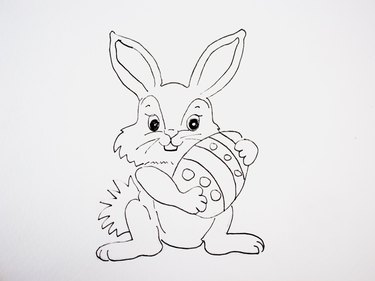
Step 15
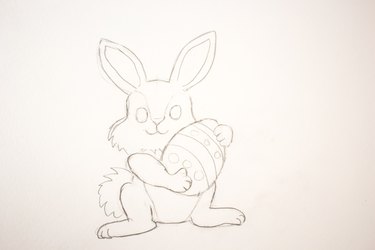
Now that the lines have been erased, it's time to start adding more detail, i.e. decorative lines in the egg and the inner line of the ears.
Step 16
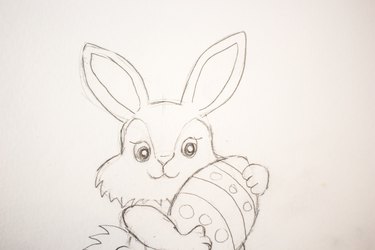
To give the eyes personality, shade a circle inside them, leaving a white highlight in each eye. Also draw in eyelashes.
Step 17
Optional: Outline the entire bunny with an ink pen.
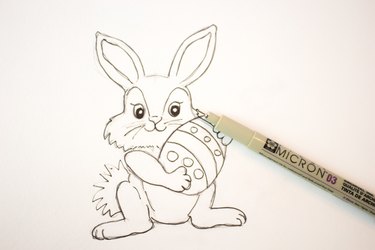
Step 18
Assuming you followed Step 17, allow the ink to dry and then erase all of the pencil lines so that you're left with just the ink outline.
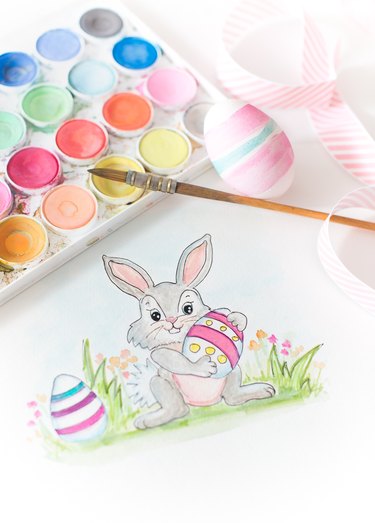
It wouldn't be Easter without a lot of color, right? This cute little Easter bunny was drawn on watercolor paper and painted, but feel free to print your own copy and invite your little ones to color it in with crayons or markers.
Tip
Here is a step-by-step collage for quick reference.
Video of the Day