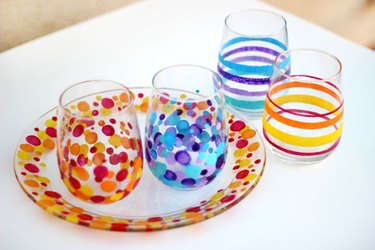
Whether it's wine glasses, tumblers, glass plates or even windows, glass surfaces are easy to paint. And with the right paint — and care — your designs will stay on permanently. There are also some simple techniques for painting on glass that don't require any drawing ability, as you'll see with these hand-painted stemless wine glasses.
Video of the Day
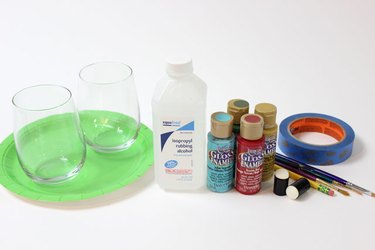
Things You'll Need
Glassware
Rubbing alcohol
Paper towel
Acrylic paint (enamel or multi-surface)
Paper plate
Sponge daubers
Pencils with eraser
Paint brushes
Masking tape
Scissors
Baking sheet
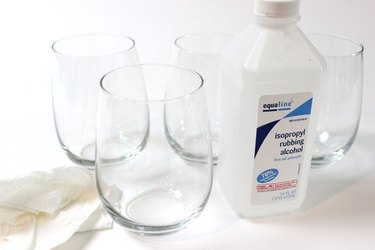
Step 1: Prepare the Glassware
Wash your glass with hot soapy water and allow to dry. Then wipe the glass with rubbing alcohol using a paper towel to remove any residual soap film.
Video of the Day
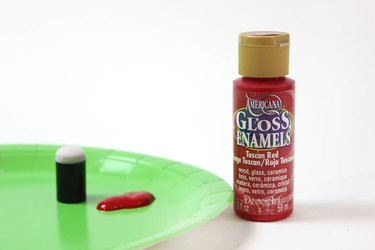
Step 2: Select Your Paint
To paint on glass, the best paint to use is enamel acrylic paint, which is formulated specifically for glass and ceramic surfaces. You can also use acrylic paint that is labeled "multi-surface;" just check the label to make sure it specifies that the paint is appropriate for glass. After you've chosen your colors, squeeze the paint onto a paper plate.
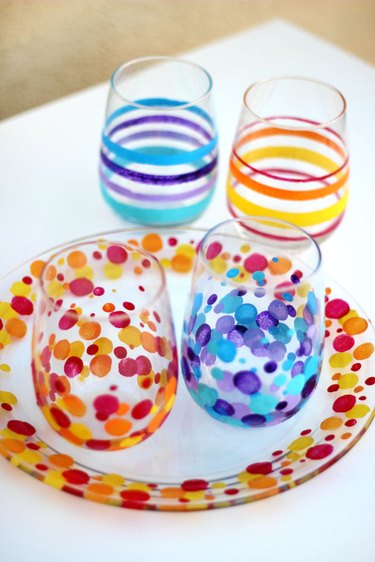
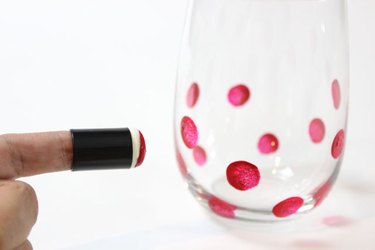
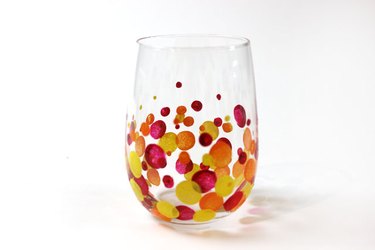
Step 3: Paint Polka Dots
Painting dots of various sizes and colors on the glass creates a festive confetti design, and little artistic skill is necessary. Start with a sponge dauber, placing it on your fingertip for maximum control. (Sponge daubers are available at crafts stores in the brush and stenciling department.) Dip the dauber in paint, and then apply the dauber to the glass to create a dot. For perfectly round dots, press the dauber straight down on the glass, turn about halfway, and lift. Also, refresh the dauber with paint after every one or two dots.
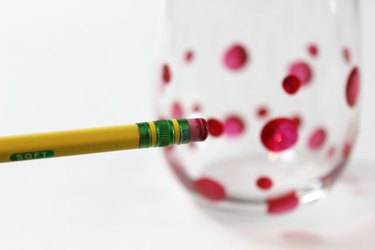
To paint smaller dots on the glass, use the eraser end of a pencil in the same way you used the dauber — pressing, turning and lifting.
And to make even smaller dots, use the end of a paint brush in the same way. Multiple sizes of dots give movement and dimension to the design.
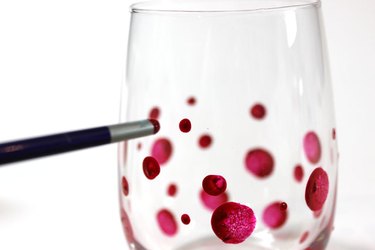
Step 4: Repeat with Coordinating Colors
Once the dots have dried, select two to three more coordinating colors and paint dots with them. Wait for previous layers to completely dry before overlapping the dots on top of each other.
Warning
To make the glasses food safe, leave at least one inch at the top of the glass rim so that lips do not touch any paint.
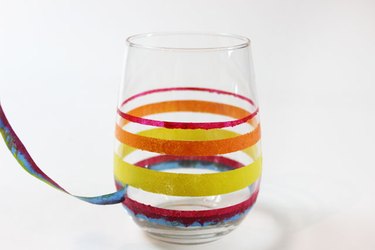
Step 5: Paint Stripes
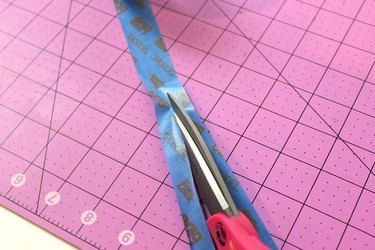
Another way to paint on the glasses without having any artistic ability is to create stripes. All you need to do is paint within pieces of masking tape. Using scissors, cut masking tape in half or in thirds lengthwise. (The width of the masking tape will determine the space between stripes, so you can leave the masking tape as is if you'd prefer bigger gaps.)
Apply the strips of masking tape horizontally along the glass. Vary the distance between them so you will have stripes of different sizes. Press down on the tape with your fingertips to prevent paint from seeping underneath.
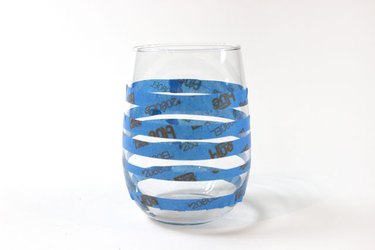
Paint between the strips of masking tape. Use a dauber instead of a paint brush, as a dauber will not show brush strokes. Also, apply the dauber with an up and down motion rather than sideways so paint does not go under the tape.
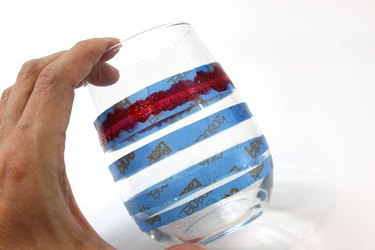
Peel off the masking tape while the paint is still wet. If the paint has dried, the tape can take off some of the paint with it when it's removed.
Tip
Don't worry if your stripes are not perfectly straight. You want the character of hand-painted glass, not the machine-printed alternative.
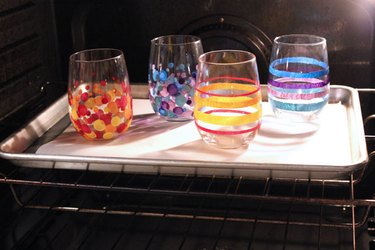
Step 6: Bake the Glassware
Place your painted glasses on a parchment-lined baking sheet in a cold oven. Turn on the oven to 350 degrees Fahrenheit. After the oven reaches 350 degrees, bake the glassware for 30 minutes. Then turn off the oven and let the glassware remain in the oven as it gradually cools. (Sudden changes in temperature can break the glass.) When the oven has completely cooled, remove the baking sheet and glassware. The paint on your glassware is now cured and will not wash off.
Tip
To care for your painted glassware, always hand wash it rather than placing it in the dishwasher. This will prevent the paint from chipping or fading.
Painting on Glass Plates
To paint on a glass plate, turn the plate upside down and paint only on the back side. This way, the plate will be food safe because the paint will not touch food. Consider painting only on the rim so the design will still show when you place items on the plate. And as with the glasses, bake the plate in a 350 degree oven for 30 minutes to cure the paint.

With proper care, your painted glassware can grace your table for years. It also makes a heartfelt gift for any occasion.