
Dyeing eggs is a fun way for families to celebrate spring and add color to the Easter holiday. They can be used in egg hunts, Easter décor and can be eaten afterwards, if refrigerated. This simple, easy-to-follow method yields beautifully colorful eggs.
What You'll Need:
Video of the Day
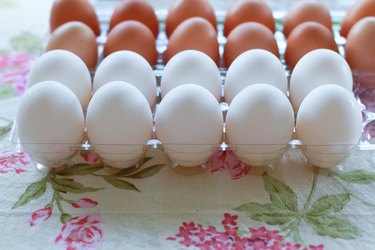
- Eggs
- Egg dye or egg-dyeing kit
- Vinegar
- Water
- Large spoon or small gravy ladle
- Newspaper or butcher paper (optional)
Video of the Day
Note: White eggs are traditionally used for bright jewel-toned eggs, and brown eggs dye beautifully into rich, earthy colors.
1. Boil the Eggs
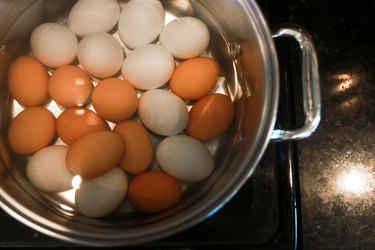
Place the eggs in the bottom of a saucepan and cover with an inch of cold water. On high heat, bring the water to a full boil. Turn off the heat but keep the pan on the burner. Cover and let it sit for 10 to 12 minutes. Drain the water and place the eggs in cold running water or a bowl of ice water for three to five minutes to cool.
2. Prepare Your Work Area

While the eggs are cooling, prepare the surface where you will be dyeing eggs to make cleanup easy. Butcher paper is inexpensive, works great to cover surfaces and can be removed and thrown away when finished. Newspaper would also work.
3. Prepare the Dyes
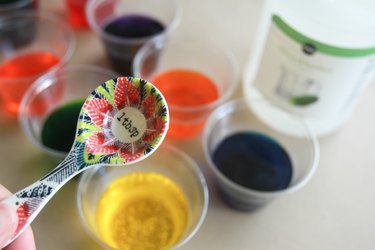
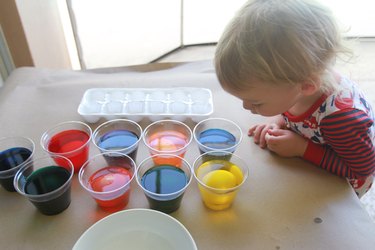
Short clear-plastic cups are the perfect size and shape for dyeing eggs. Follow the package directions for mixing if using egg dye tablets, which usually require room-temperature water and a little bit of vinegar for vibrant colors. Set dye cups out on your work surface, leaving plenty of room for kids to move around.
4. Place the Eggs in the Dye
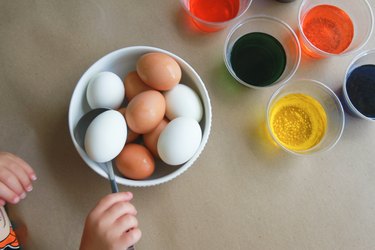
The open-wire ladle that comes with most egg kits is flimsy and hard for little kids to hold. A large spoon or small gravy ladle is easier to grasp, holds the egg in place and can be maneuvered in and out of the dye cups. Using the spoon, carefully lower one egg into each of the dye cups.
5. Wait for the Eggs to Soak Up the Dye
Keep the eggs in the dye bath for three to five minutes, checking and turning them once or twice for good color absorption. For darker, more vibrant colors, leave the eggs in a few minutes longer.
6. Remove the Eggs

Carefully remove the eggs with the spoon, roll them on a paper towel to remove dye drips and place them in an egg carton to dry for a minute.