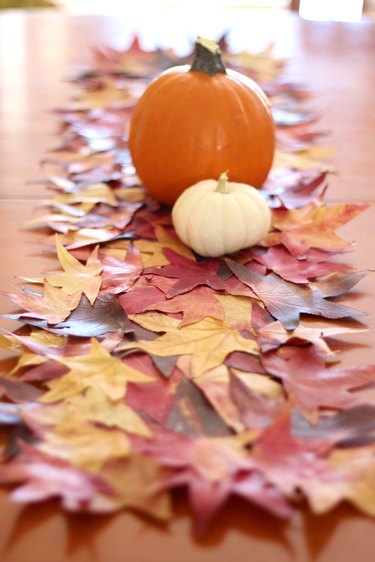
Freshly fallen autumn leaves are some of the season's most colorful sights. So why not bring some of that beauty indoors with this table runner? Made from real leaves, it's an eco-friendly way to use a natural resource that would otherwise end up in the trash bin. And what a lovely way to accent your fall table.
Video of the Day
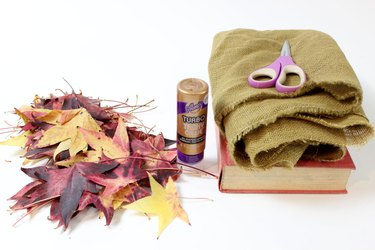
Things You'll Need
Fall leaves
Scissors
Paper towels
Thick books
Burlap
Craft glue
Step 1: Cut Stems from Leaves
You will need about 30 leaves for every foot of table runner. This table runner was just over three feet and used about 100 leaves. Cut the stems from the leaves with scissors and discard them.
Video of the Day
Tip
Pick freshly fallen leaves rather than leaves that are already dried. They are more pliable and will flatten more easily.

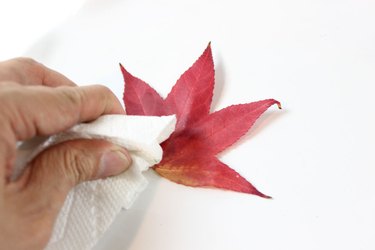
Step 2: Clean the Leaves
Wipe the leaves with damp paper towels to remove dust and dirt.
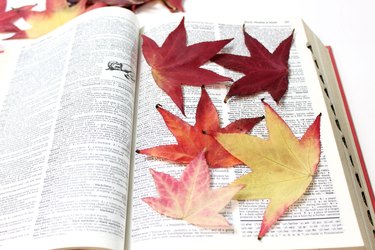
Step 3: Flatten the Leaves
Place the leaves between the pages of thick books like a dictionary. Within each book, position 5 to 6 leaves about every 50 pages.
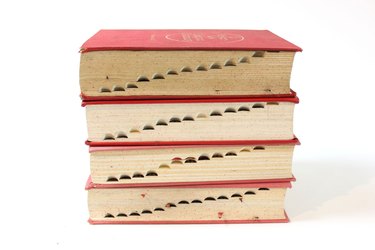
You will need several books to accommodate all your leaves. (Good thing I collect dictionaries.) Stack them up, and place a heavy object on top of them. Let the leaves dry within the books for at least 48 hours.
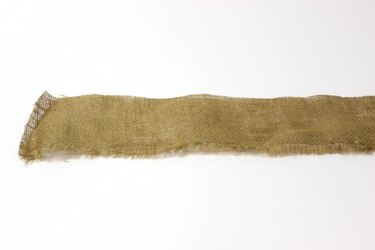
Step 4: Cut a Strip of Burlap
Decide how long you want your table runner, and cut a 3-inch wide strip of burlap to the desired length. The burlap will act as a foundation for the leaves, making the table runner more durable and allowing you to move the runner around without breaking the leaves. You can use another type of fabric, but burlap looks good underneath the leaves, especially if there are openings that reveal the burlap underneath.
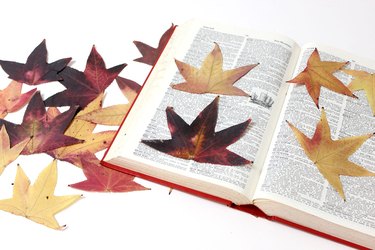
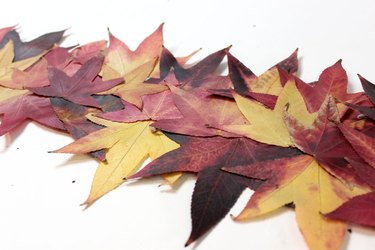
Step 5: Remove Leaves from Books
After at least 48 hours, check to see if the leaves are flat and dry, and remove them from all the books.
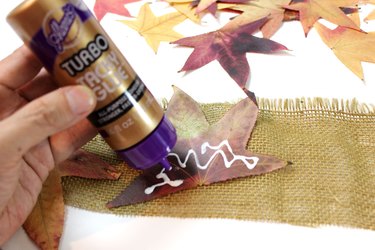
Step 6: Glue Leaves onto the Burlap
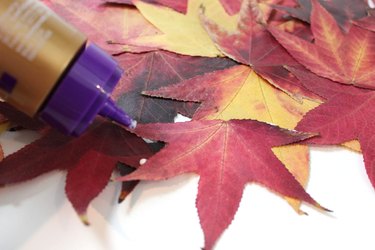
Apply craft glue to the back of the leaves, and position them on the burlap.
Keep overlapping the leaves until the burlap is covered.
Tip
Keep lifting the burlap from your work surface to make sure the glue is not seeping through.
Step 7: Widen the Leaf Covering
To make the table runner wider, glue leaves on top of the ones that are covering the burlap. For a 10-inch wide runner, extend two to three leaves past the burlap edge.
Tip
For a table runner that's more pleasing to the eye, position the leaves so that the points face outwards. The shape of the leaves will be more distinct this way.
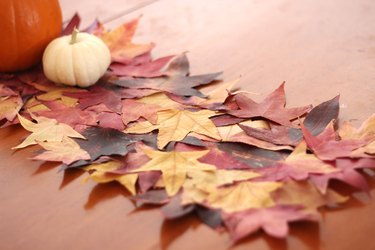
Step 8: Display on Your Table
Place the table runner along the center of your table, and accessorize with other fall elements. Let the autumn entertaining season begin!