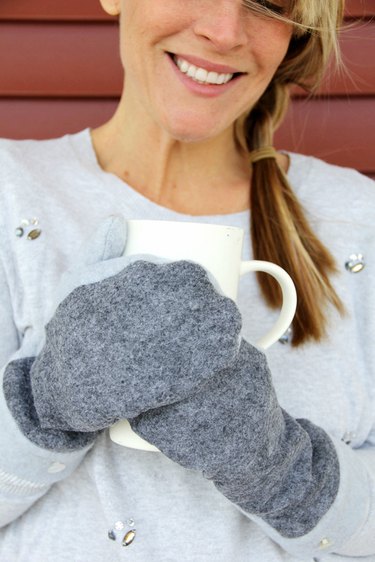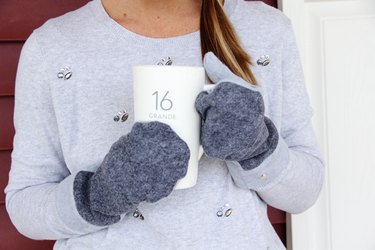
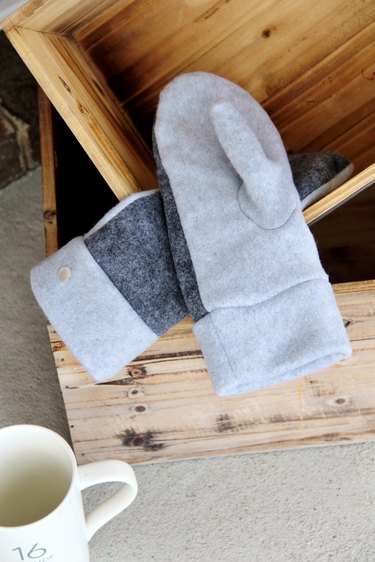
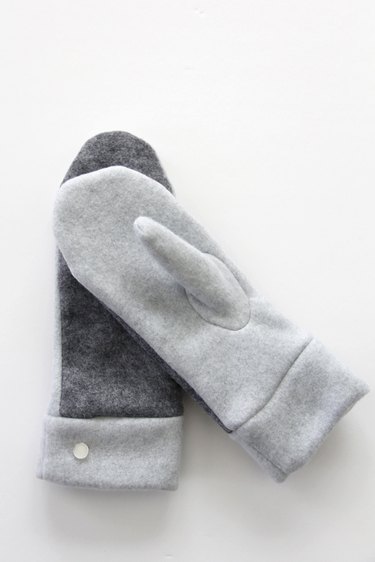
As the weather turns cooler, here's the perfect DIY to try: handmade felted wool and fleece mittens for women. To get started, first download this free mitten sewing pattern. Have fun by color blocking them, or match your felted wool and fleece for a monotone look. These easy mittens are fun to make, taking less than one hour, and make great presents for loved ones! All you need is some fleece and felted wool, and you are ready to start sewing.
Video of the Day
Things You'll Need
1/3 yard fleece
1/3 yard felted wool
Coordinating thread
Pins or binder clips
Fabric scissors or rotary cutter
Universal sewing needle
Sewing machine
Fabric marker or chalk
Embellishment (optional)
Tip
Mitten sewing pattern includes a 1/4-inch seam allowance, unless otherwise stated.
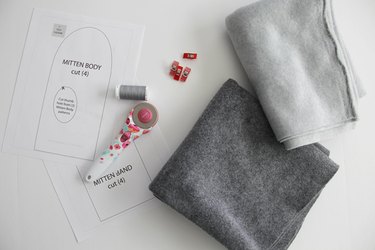
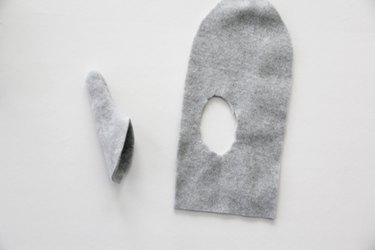
1. Cut out the pattern pieces
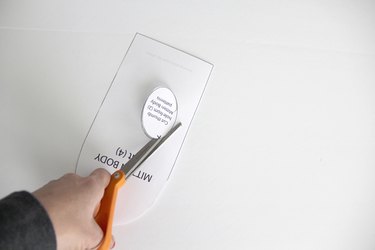
Print out the mitten sewing pattern, making sure the 1-inch test square is to size. Using regular scissors, cut around the pattern black lines to cut out pattern. For the mitten body pattern, cut out the circle thumb hole.
Video of the Day
Cut out pattern pieces as instructed. Use the felted wool for the top of the hand and the fleece for the bottom (the palm, thumb, and mitten band). Fleece is more flexible than felted wool, so this will make the gloves comfortable and functional.
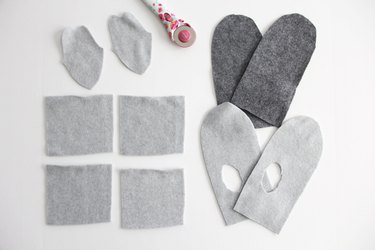
Cut out thumbholes from the fleece mitten body. Transfer thumbhole 'x' marking to the fleece mitten body using fabric marker or chalk.
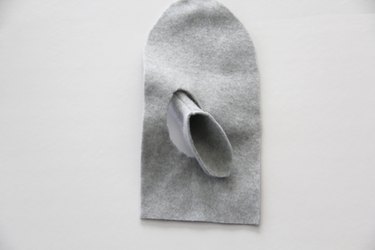
2. Pin the thumbs onto the mittens
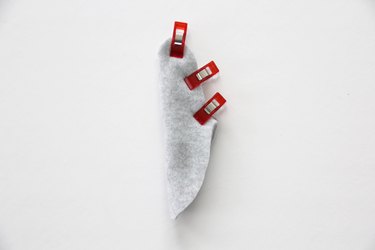
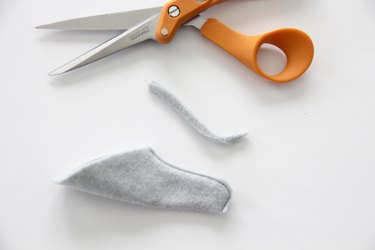
Fold the fleece thumb right sides together, matching the upper curved raw seam. Pin and sew, using a 1/8-inch seam allowance. Trim seam as close to the sewn line as possible. Turn the thumb right side out, and repeat for other mitten thumb pattern piece.
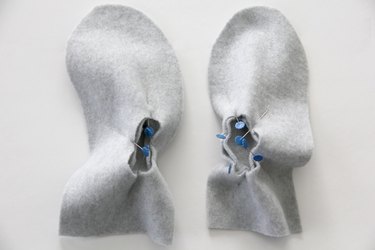
3. Sew the thumbs to the mittens
With the thumb right side out, and the mitten wrong side up, slip the thumb inside the mitten thumb hole. Match the thumb seam with the marking along the top of the thumb hole (marking is on the pattern pieces as an 'x'). Pin the thumb to the thumb hole, right sides together, and work your way around the thumb hole pinning the thumb in place. This is the same method you would use when setting in a sleeve.
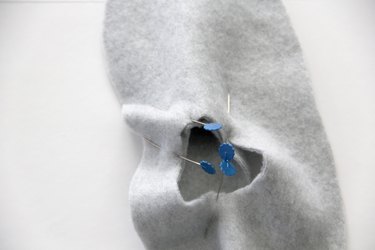
Repeat for the other mitten and thumb pattern piece, making sure to use the mirror image so that the thumb is on opposite sides of each mitten. We want to be sure we have a left and right hand mitten! Sew around using a 1/8-inch seam allowance, pivoting the needle and fabric as you sew to make sure you do not catch any folds or fabric creases in the sewn line.
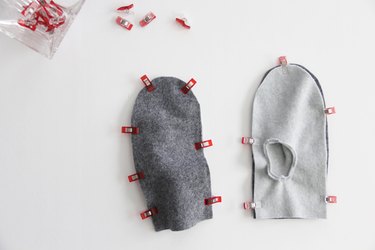
4. Sew the front and back of the mittens together
Place front and back of mitten right sides together, sandwiching the thumb in the middle. Pin around the curved edges and sew. Trim the seam allowance. Repeat for both mittens.
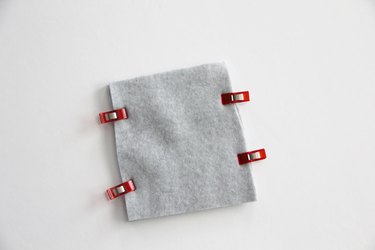
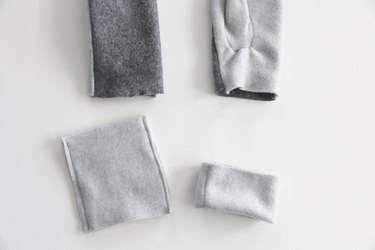
5. Prep the mitten bands
Place two fleece mitten bands right sides together, matching up the side seams. Pin and sew. Trim the seam allowance, and repeat for other two mitten bands.
Tip
It is important that your mitten band fleece materials stretches from left to right, not up and down. To ensure, simply give your fleece band a gentle tug on the side seams. If it stretches when you pull, then the fleece is cut correctly.
6. Sew the mitten bands to the mittens
Fold each mitten band in half, matching up the raw edges and enclosing your seams. Slip mitten band around the bottom of your mittens, matching up the side seams and raw edges. Pin around and sew. Repeat for the other mitten.
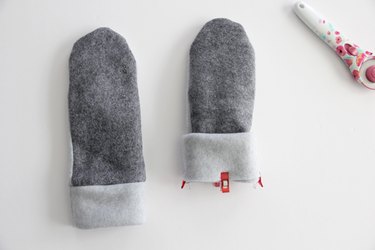
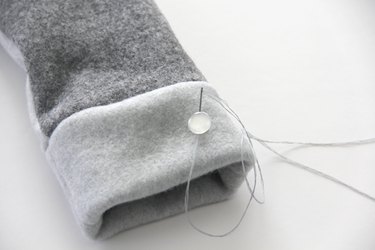
7. Embellish the mittens (Optional)
If desired, embellish your mittens with buttons, felt flowers, bows, or more! By using a hand needle and thread, simply sew your embellishment onto the mitten band. Buttons make for a classic, easy upgrade on handmade mittens.
Tip
To care for your felted wool and fleece mittens, make sure to treat stains as quickly as possible. Machine wash in a cold, gentle cycle or hand wash in a sink with cold water. Blot mittens with a dry towel to remove excess water, and lay flat to dry.