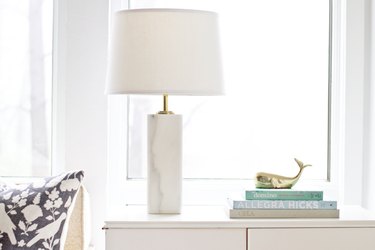
Have you spotted luxe marble lamps popping up all over the place? They are gorgeous, but the price is often steep. Making your own is easier than you might think with inexpensive materials and very minimal cutting required. With a few hours and a little bit of money, you can have your own high-end looking marble lamp for less.
Video of the Day
Things You'll Need
Marble baseboard tile, 4 inches by 12 inches (5 pieces)
Ruler
Permanent marker
Drill with 3/8-inch bit for tile
Silicone caulk
Tile saw
Adhesive for stone
Tape
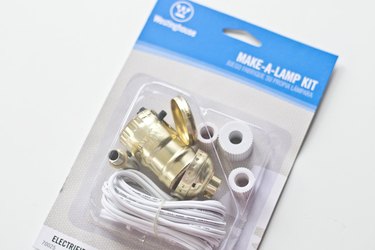
Lamp kit
1/8-inch IP 6"-inch threaded rod
Brass rod and vase cap
Felt pad or feet
Step 1: Measure Hole for Lamp Cord
Place one tile flat on the table and one on its side, as shown below -- this will be the assembled width (4 3/8 inches). Measure the center (2 3/16 inches), 1 inch from the bottom.
Video of the Day

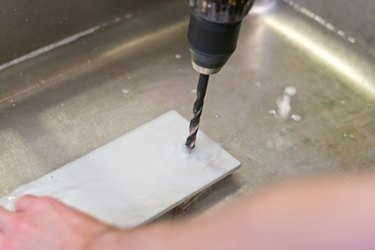
Step 2: Drill a Hole for the Lamp Cord
Place a scrap piece of wood in a sink or bowl, then set the tile on top. Add water until the tile is covered -- this will help prevent the tile from breaking. Slowly drill through the tile with the 3/8-inch tile drill bit. Once the hole has been drilled, dry the tile and apply a small amount of silicone caulk to the edges of the opening.
Step 3: Cut the Top and Bottom Pieces for the Lamp
On one tile, measure and mark two squares, 3 1/2 inches by 3 1/2 inches each. Using the table saw, cut the two squares. These will form the top and bottom of the lamp.

Step 4: Drill a Hole for the Lamp Assembly
On the top 3 1/2 inch square, measure and mark center of the square. Use the 3/8-inch tile drill bit to drill a hole.

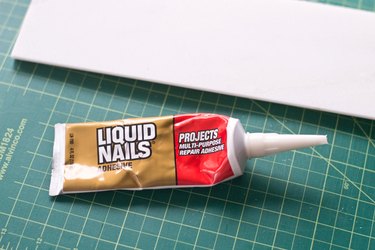
Step 5: Start Assembling the Tiles
Use a permanent adhesive for stone (quick setting is preferred).
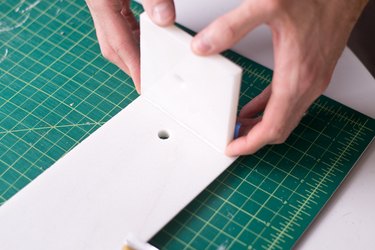
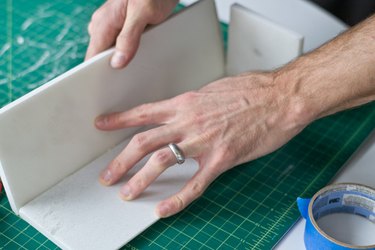
Step 6: Assemble the Base and Side
Lay the tile with the hole for the lamp cord flat on a table. Place the bottom square against the straight side (one side of the tile is straight and one is beveled), and secure with the adhesive. If needed, use tape to help hold the tile together until the adhesive sets.
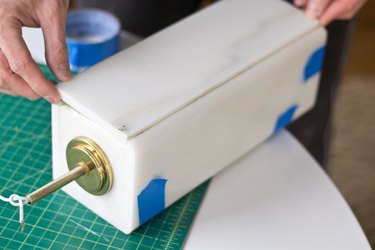
Step 7: Add the Sides
Start creating a box by lining up the bevel edge to overlap the square edge. This will create a smooth transition and a beveled edge on all four corners. Add the other side.
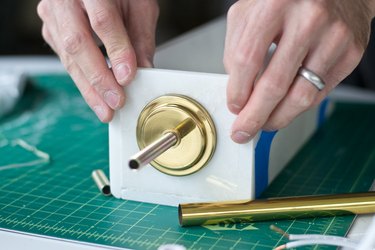
Step 8: Add a Vase Cap and Tube
To cover the 6-inch threaded rod, add a vase cap and brass tube. I used old lamp parts from my collection, however, these can be purchased at a lamp store as well. My brass tube is 2 3/4 inches long. This measurement depends on the desired height for the overall lamp and lamp shade (the additional threaded rod protrudes out of the lamp body).
Step 9: Wire the Lamp
Before placing the final tile, wire the lamp by following the instructions on the kit. Thread the wire through the hole and through the threaded rod.
Tip
Remove all tape and stickers from the interior of the lamp. Since the marble is translucent, these will be visible from the exterior once complete.

Step 10: Complete the Lamp
Add a small amount of adhesive on all the seams and place the final tile to complete the lamp.
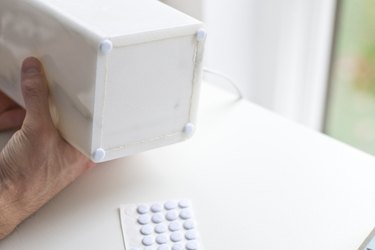
Step 11: Add Felt to the Bottom
On the base, add felt feet or a felt bottom to protect surfaces.
Your lamp will be ready to use once the adhesive has dried and fully cured.