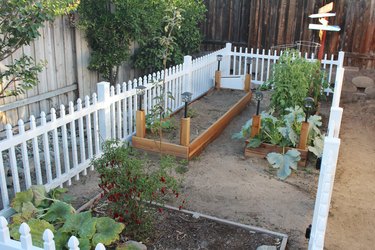
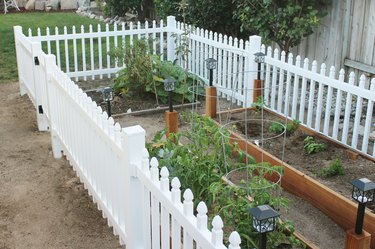
One of the most convenient aspects of having your own garden is always having fresh produce on hand, but many small critters like rabbits and possums also love to munch on your garden goodies. Keep it protected by building a fence, and implement a few small tricks to deter those pesky little creatures from eating the food you had planned for dinner.
Video of the Day
Things You'll Need
Ground stakes
Steel framing square
Tape measure
String
Post hole digger
Gravel (optional)
Cement, 90-pound bag per post
Shovel
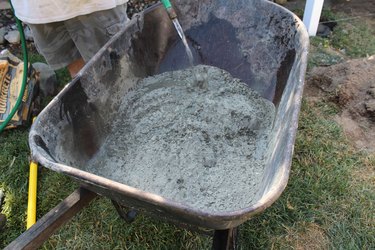
Wheelbarrow or large bucket to mix cement
Fencing posts
Post level
Vinyl fencing panels
Gate kit or pre-made gate
Drill
Large level
Circular saw
Vinyl fence cement
Chicken wire
Zip ties
Tip
A white vinyl fence was used in this project, but research what style of fence works best for your needs. Most vinyl fences are already set to a certain length and height, so choose accordingly. The amount of fence posts and panels needed will vary depending on your garden size.
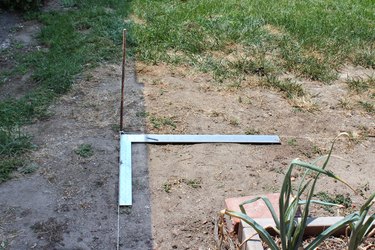
Step 1: Mark the Placement of Fence Posts
Start by measuring the area you'd like to fence off around your garden, and make sure the ground is level first. Place a stake where one corner post of your fence will go, and then use the steel framing square to make sure your corner is square.
Video of the Day
Use the measuring tape to measure out the other three corners of the fence, using the steel framing square in each corner to make sure they are perfectly lined up and square. Be sure to leave an extra 1/4 to 1/2 inch of space per corner to ensure the fence panels will fit when the brackets are placed on the posts. Place stakes in the remaining three corners of the fence area as well.
In addition to the corners, you'll need to place a post in between each segment of fence paneling, so be sure to mark the placement of each post with stakes according to the length of your panels. Depending on where you want your gate to go, you will also need to place two stakes where the two posts will attach to the gate. If you are attaching the gate to one of the corner posts, then you will only need one extra stake. Tie a string going around all of the stakes.
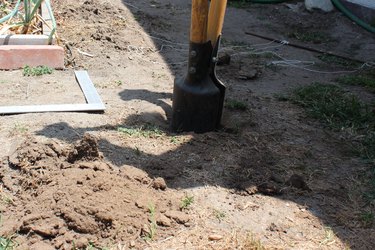
Step 2: Dig Holes for the Fence Posts
Where each stake is placed, you will need to dig a hole that is approximately 2 feet deep and 5 inches wide using the post hole digger. Remove the stakes and string as you go.
Tip
If your soil doesn't have good drainage, you will need to dig another 6 inches deeper and place gravel in the extra 6 inches for proper post drainage.
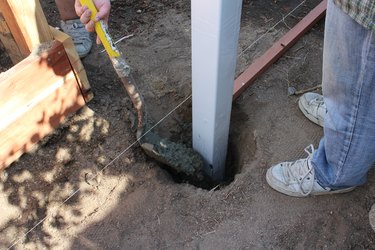
Step 3: Secure the Posts With Concrete
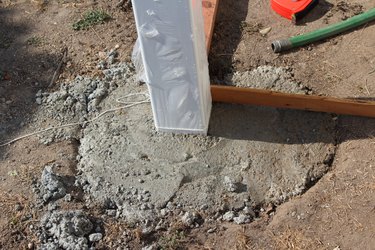
Mix the cement according to the instructions on the bag. Once you have mixed your wet concrete, place a fence post in one of the 2-foot holes. Fill the rest of the hole with wet concrete, leaving about an inch of space at the top for dirt. While pouring the wet concrete, you will need a helper to keep the post standing straight, using a post level to guide them.
Repeat for each fence post, including the posts for your gate. Once the concrete is completely dry, cover the remaining inch around the posts with dirt to conceal the concrete.
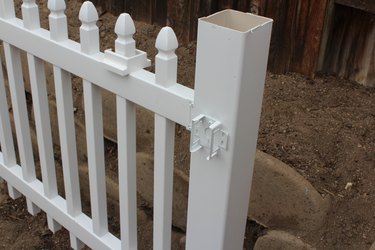
Step 4: Attach Fence Panels & Gate to the Posts
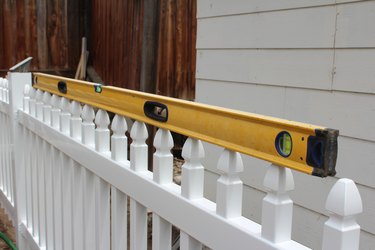
Mark pilot holes where each fence panel will connect to the posts. Now install the bracket for each panel according to the instructions that came with your fencing. Use a large level to ensure the fence panels are level before connecting them to the brackets on the posts. Follow the directions that came with your gate to attach it to the posts properly. Note: Each fence will have different types of brackets and screw locations, so measure accordingly.
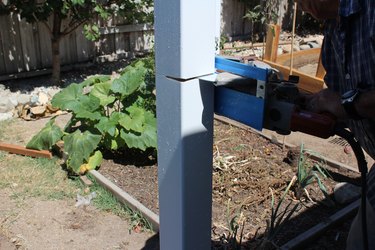
Step 5: Cut Posts to the Desired Height
At this point, you will need to cut the posts to your desired height, leaving 1/2 inch extra for the post cap. Mark the posts at the desired height and use the circular saw to cut each post.
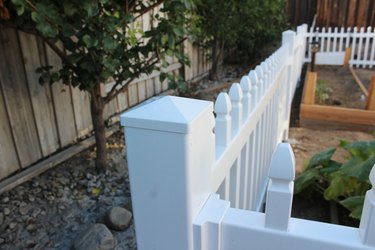
Step 6: Attach the Post Caps
Use vinyl fence cement to attach the post caps to each post. Apply the cement on the inside of the post cap and place it over the post. Wipe away any excess cement with a paper towel.
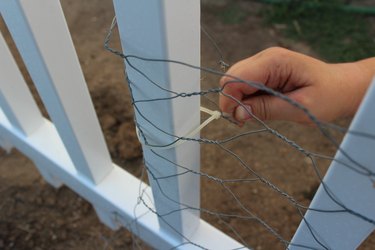
Step 7: Line the Fence With Chicken Wire
Place chicken wire along the bottom inside of your fence, with about 3 inches of it extending into the dirt underneath the fence. Use zip ties about every 6 inches to keep the chicken wire in place. Be sure to use a zip tie at the top of the chicken wire and just above the dirt at the bottom of the fence to ensure small critters can't just push the chicken wire out of their way.
Tip
If you have critters that burrow in the area, you can also place chicken wire about 5 inches below the dirt around the entire garden area.
Other Ways to Keep Out Critters
Planting some garlic sporadically in your garden has been known to keep out smaller critters. Spraying the perimeter with offensive scents like chili powder can also help, but this must be done frequently. You can also tie cans or pie tins around the posts with string -- the clanging sound of the tins banging against the post will help deter birds.