Things You'll Need
Measuring tape
6d nails
Chalk line
Carpenter’s level
Pencil
String
Circular saw
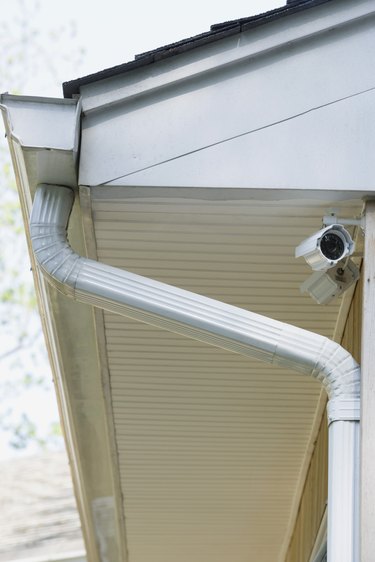
An eave is the roof edge's underside, and it may be open or enclosed with soffit creating a horizontal plane, giving the eave a finished look. The amount of desired roof overhang determines where you cut the rafter tails when finishing out this roof area. Overhangs play a role in directing rainfall away from the foundation, so don't cut the eaves too short.
Step 1
Place one end of a measuring tape against the house's side beneath one of the rafters on the roof's far side. Extend the tape's other end horizontally out to meet the rafter's bottom edge.
Video of the Day
Step 2
Make a pencil mark on the rafter's bottom edge 1 1/2 inches shorter than you want the overhang. For example, a standard overhang is 24 inches, so mark the rafter at 22 1/2 inches. The 1 1/2 inches is for installing subfascia, which is considered as part of the overhang.
Step 3
Make a second mark in the same manner on the far rafter on the opposite side of the roof.
Step 4
Drive two 6d or similar size nails about 1 inch directly into the mark on each rafter from the underside. The nail heads should extend downward. Check the distance from the nails to the side of the house ensuring that both nails are exactly the same distance from the siding.
Step 5
Snap a chalk line on the rafters' undersides between the two nails. This marks the undersides of all the rafters in between.
Step 6
Hold a carpenter's level along the side of every rafter aligned with the chalk line. Make a pencil line alongside the level from the top to the bottom on one side of each rafter. This is the cut line.
Step 7
Verify that the cut lines on the rafters are vertical and even by driving a nail into the top of the outside rafter at the top of the cut line. This is similar to what you did with first chalk line, only the nails are on the top of the rafters this time.
Step 8
Place a regular string taut between the nails and check each rafter making sure the individual cut lines line up with the string at each rafter's top.
Step 9
Cut off the rafter's ends along the cut lines with a circular saw. Cutting from the top down prevents the rafter's bottom part from pinching the saw blade.
Tip
Once all the rafters are cut, install the subfascia, then the fascia, the gutter apron and finally the roof shingles.
Warning
Use a sturdy ladder or scaffolding to reach the eaves.
Video of the Day