Things You'll Need
Measuring tape
Stud finder
2-by-4s
3-inch nails
Bi-fold doors with installation kit
Type X drywall
Drywall screws
Drywall compound
Drywall tape
Sander
Paint
Baseboards
Trim
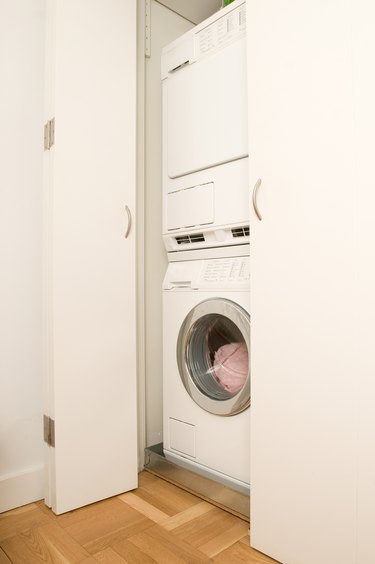
A laundry closet can muffle the noise of your washing machine and dryer. It can also help to hide the mess associated with the laundry room. This plan will build walls around an already-in-place washer and dryer and assume that the hook-ups and the wall with the hook-ups are already in place. If this is the case you simply need to enclose the space to build the closet.
Step 1
Find the studs around the area where you want to install the closet. The walls need to attach to a stud, so this will ultimately determine how much room you will have in your closet. Additionally you should leave extra room in case you decide to upgrade to larger washer/dryer models. Measure the length of each wall you need to build. To find the height for your studs, measure from the floor to the ceiling and subtract 4 inches. Measure the height and width of the bi-fold door and add 2 inches to each side to find how big to make the door frame.
Video of the Day
Step 2
Cut the wood for the wall frames using the circular saw. You will need two pieces that run the length of each wall and enough stud pieces to put one on each end of the wall and then 16 inches apart along the length. You will need one stud for each side of the bi-fold closet door frame and one piece for the top of the door frame.
Step 3
Put together the wall frames. Lay out the four exterior pieces and nail them together. The 4-inch side is going to touch the floor and the ceiling. Nail the stud pieces into place, while making sure the wall is square. Space the remaining studs 16 inches apart across the frame and nail them into place. Leave a space where the door frame will go and nail the studs for the sides of door frame into place. Put the top of the door frame into place, so there is an extra 2 inches clearance once the door is installed. Cut and nail support pieces between the top of the door frame and the top of the wall frame.
Step 4
Nail the frames into place. Nail the side of the wall frame into the stud every 18 inches from floor to ceiling and into the ceiling jousts above the wall. Finally nail it into the floor on either side of each stud. Connect the corner of the wall frames by nailing them together every 18 inches.
Step 5
Hang the drywall on both the interior and exterior of the closet walls. Screw along the top and bottom of each piece of drywall, making sure you screw into each of the studs in the frame. You need to use Type X drywall because it is fire-resistant and your dryer can make it extremely hot. This will protect your home.
Step 6
Cover the screws with drywall compound and seal the seams between the drywall pieces with the drywall tape and compound. Allow this to dry completely and sand it smooth. Paint the walls and the door frame you built. Install baseboard around the floor of the closet walls. Put up the trim around the door frame to give it a finished look.
Step 7
Install the bi-fold door, by screwing the hinges into place, so you have clearance on the bottom and the top. Screw in the hinges for both doors at the same height on either side of the door frame. Screw the track for the top of the door into place along the top of the door frame. Install the runner into place and check to make sure the doors can open and shut completely.
Video of the Day